How to transport a small grill for outdoor use?
This step-by-step guide is designed to help you transport a small grill for outdoor use. Whether you’re going camping, having a picnic, or going on a tailgating adventure, this guide will provide you with the necessary steps to ensure that your grill is safely transported and ready for use wherever you go. From preparing the grill for travel to securing it in your vehicle, this guide covers all the essential steps to make sure your small grill arrives in one piece. So, let’s get started and learn how to transport your small grill hassle-free!
Compact Grills for Limited Outdoor Areas

Choosing a compact and portable grill
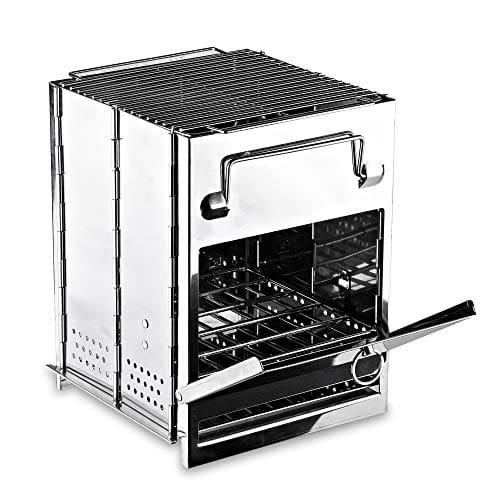
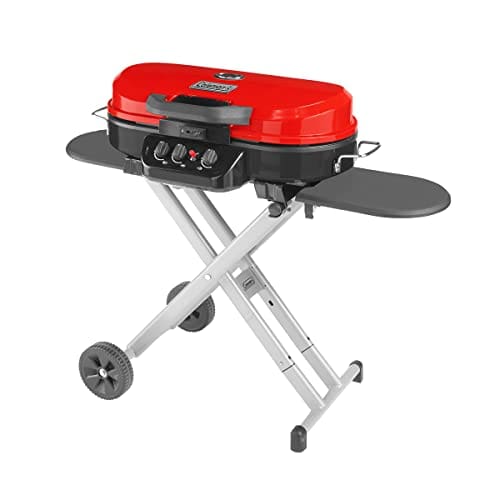
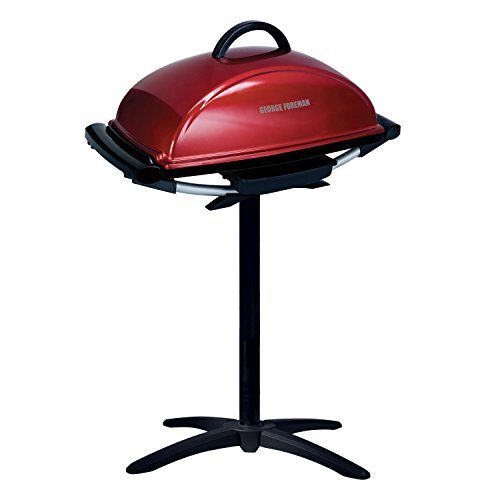
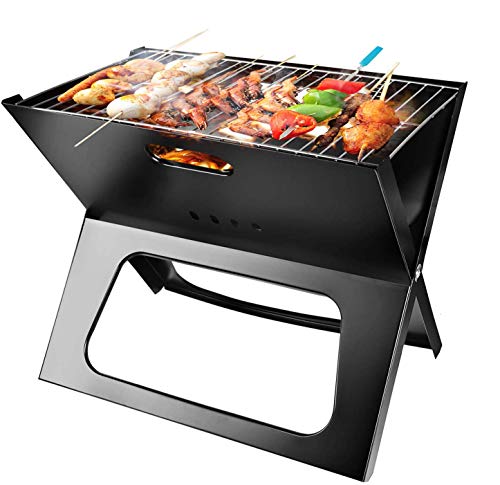
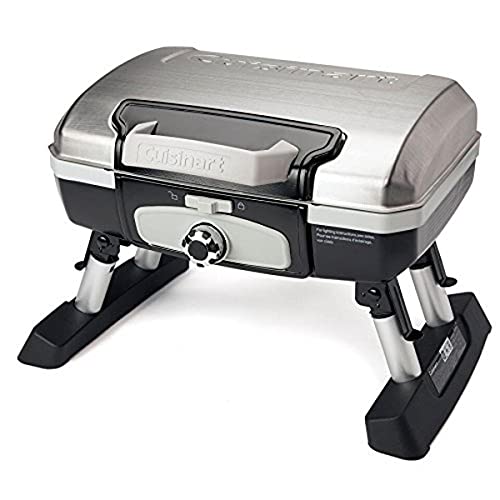
To select a small grill specifically designed for outdoor use and is compact and lightweight for easy transportation, start by considering the size and weight of the grill. Look for models that are explicitly marketed as compact and portable. These grills are usually smaller in dimensions and have lightweight materials such as aluminum or stainless steel to ensure ease of transportation. Additionally, check for features like foldable legs or handles that make it convenient to carry the grill.
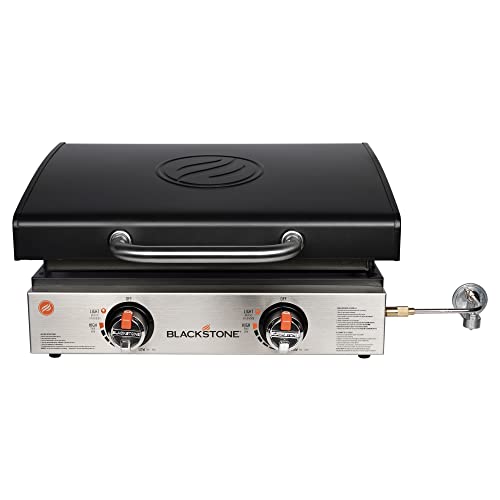
Next, think about the cooking area and capacity of the grill. While compact grills may have limitations in terms of cooking space, it’s essential to choose one that suits your needs. Consider factors like the number of people you usually cook for and the types of food you like to grill. Look for compact grills that offer a sufficient cooking area and have adjustable heat levels to accommodate various types of food.
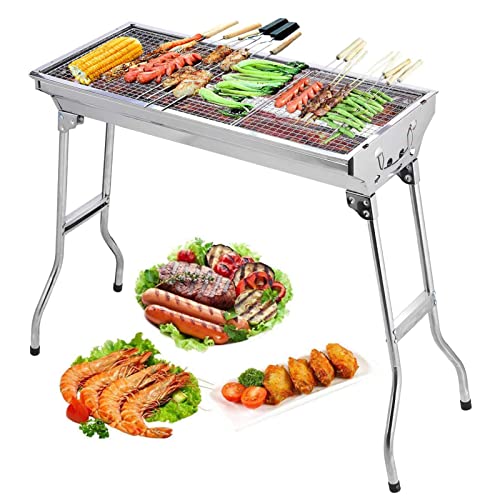
In summary, when selecting a compact and portable grill for outdoor use, prioritize models explicitly designed for such purposes. Look for grills that are compact and lightweight, making them easy to transport. Consider the cooking area and capacity to ensure it meets your needs. By following these steps, you can choose a small grill that is ideal for outdoor adventures and provides enjoyable grilling experiences.


Cleaning and preparing the grill
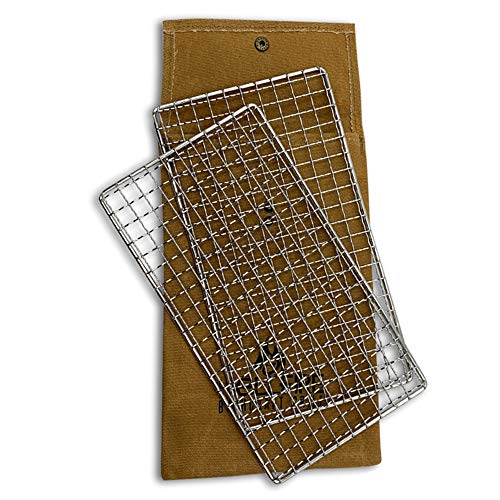
Before transporting the grill, it is important to ensure that it is thoroughly cleaned and free from any grease or food residues. Start by removing the grates from the grill. Use a wire brush to scrub off any excess residue or burnt food particles. Make sure to clean both sides of the grates to ensure they are completely free from any buildup.
Next, you will want to clean the grill’s interior. Remove any loose debris or ashes from the bottom of the grill using a grill brush or a handheld vacuum cleaner. Wipe down the interior surfaces of the grill with a damp cloth or sponge to remove any grease or residue. It is important to pay special attention to the burners and any other components of the grill that may have accumulated grease or food particles.
After cleaning the grates and the interior, you should also check for any loose parts or accessories. Secure any loose screws or bolts and ensure that all accessories, such as side tables or propane tanks, are properly attached and won’t cause any issues during transportation. Taking the time to clean and secure your grill before transportation will not only help prevent any mess or damage but also ensure that your grill is ready to use when you reach your destination.

Disassembling the grill
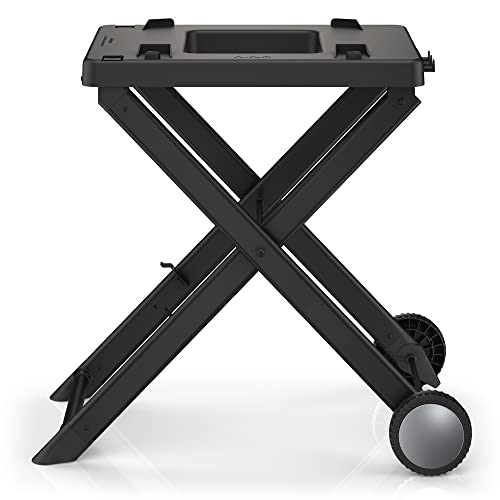
If you need to transport your grill and want to make it easier to handle, it is recommended to disassemble it into smaller parts. Start by removing the legs of the grill. Most grills have removable legs that can be unscrewed or detached easily. By removing the legs, you reduce the overall size of the grill and make it more compact for transportation. Remember to follow the manufacturer’s instructions for the specific model of grill you have, as some may have different mechanisms for detaching the legs.
In addition to the legs, check if your grill has any side tables or other removable components. Side tables are often foldable or detachable, making it easier to disassemble the grill further. Depending on your grill’s design, you may need to unscrew or release a latch to remove the side tables. By removing these additional components, you can significantly reduce the size and weight of the grill, making it more practical to transport in your vehicle.
Remember that every grill model may have slightly different mechanisms for disassembly, so always consult the manufacturer’s instructions for the detailed procedure. By following these instructions, you can avoid any damage to the grill and ensure that you reassemble it correctly when needed.


Packaging and protecting the grill
To properly package and protect the grill during transportation, follow these steps:
- Wrap the disassembled parts in bubble wrap or packing material: Take each individual part of the grill and wrap it securely in bubble wrap or packing material. This will help prevent any damage that may occur during transportation. Make sure to cover all vulnerable areas, such as knobs, handles, and grates.
- Place the wrapped parts in a sturdy box or container: Find a sturdy box or container that is appropriately sized to fit all the wrapped grill parts. Ensure that the box is strong enough to withstand the weight and won’t be easily damaged during shipment. Place the wrapped parts inside the box, arranging them in a way that minimizes movement and provides adequate padding between each piece.
- Seal the box properly: Once all the wrapped grill parts are securely placed in the box, make sure to seal it properly. Use strong packing tape to seal all the openings of the box. This will ensure that the box remains closed and prevents any accidental exposure or damage to the grill components.
Following these steps will help you package and protect your grill effectively, ensuring that it arrives at its destination without any damage.


Transporting the grill
To load the packaged grill into your vehicle, start by ensuring that you have enough space in your vehicle to accommodate the grill safely. Open the trunk or cargo area and clear out any items that may block or interfere with the grill. Place a protective layer, such as a blanket or mat, on the floor of your vehicle to prevent any scratches or damage.
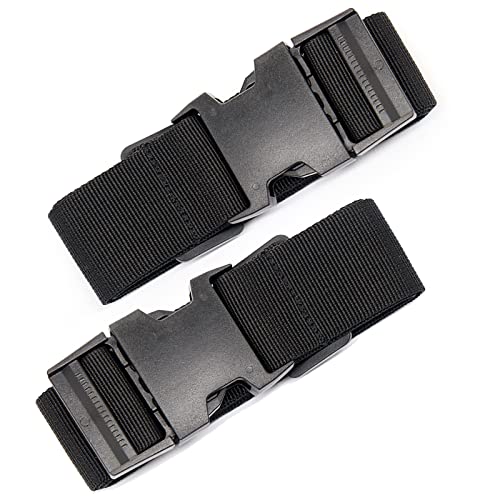
Next, carefully lift the packaged grill and place it in your vehicle, making sure it is positioned securely and does not obstruct your view while driving. If you have a larger vehicle, such as an SUV or truck, you may need assistance to lift and place the grill safely. Once the grill is in position, use straps or bungee cords to secure it tightly to the vehicle. Attach the straps to secure points in your vehicle, such as anchor points or handles, ensuring that the grill is snugly held in place. This will prevent it from sliding or moving during transportation.
As you drive, it is crucial to exercise caution and drive carefully to ensure a safe journey for both you and the grill. Avoid sharp turns or sudden stops, as these actions can cause the grill to shift or fall over, potentially resulting in damage to your vehicle or injury to yourself. Maintain a safe distance from other vehicles on the road and drive at a steady speed. By following these guidelines and driving attentively, you can transport your grill securely and arrive at your destination without any issues.


Wrap-up and Final Thoughts
In conclusion, transporting a small grill for outdoor use requires careful consideration and proper preparation. By selecting a compact grill that is easy to handle, cleaning and disassembling it effectively, and ensuring its protection during transportation, you can enjoy outdoor grilling without any hassle. Remember to pack it securely and keep it away from any potential damage. Following these steps will ensure that your small grill arrives safely at your desired location, ready for you to enjoy a delicious meal with friends and family. Happy grilling!
Necessary Equipment


Portable Grill Solutions
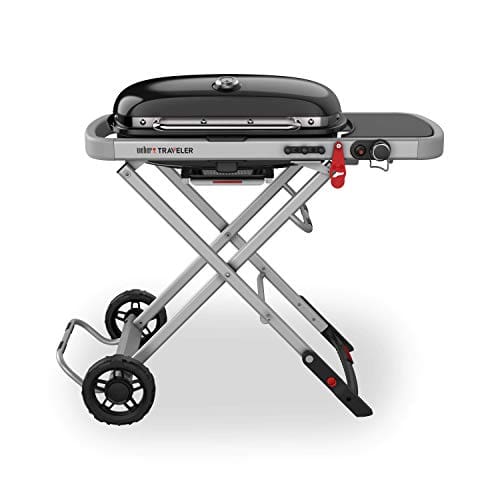
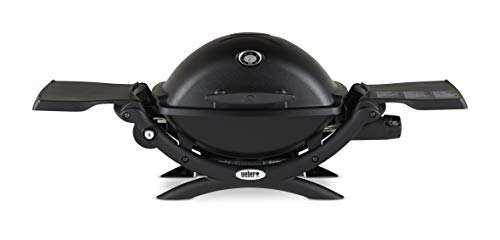
How to set up your Weber Q1200 Portable Propane Grill
Step-by-Step Guide to Maximizing Efficiency and Enjoyment
- Choose a suitable location: Find a well-ventilated area, such as a balcony or patio, where you can safely place your grill for small spaces. It should have enough space around it to avoid any potential hazards
- Read the instructions: Familiarize yourself with the user manual that came with your grill. It will provide important information on assembly, operation, and maintenance of the grill
- Preheat the grill: Before cooking, preheat the grill according to the instructions provided. This will ensure that the grill is properly heated and ready for cooking your food
- Follow cooking guidelines: Different types of food require different cooking times and temperatures. Refer to cooking guidelines or recipes specifically designed for grilling to ensure that your food is cooked properly and safely
- Clean and maintain regularly: After each use, make sure to clean your grill thoroughly. Remove any leftover food debris and grease to prevent future buildup that can affect the performance of the grill. Regular maintenance will help extend the lifespan of your grill