How to transport a camping grill?
If you’re planning a camping trip and want to bring along your grill to cook delicious meals outdoors, this step-by-step guide will help you transport your camping grill easily and safely. Whether you have a portable grill or a larger one, it’s important to follow the right procedures to ensure that your grill arrives at your destination undamaged. This guide will provide you with all the essential steps and tips to securely transport your camping grill, making your outdoor cooking experience a breeze.
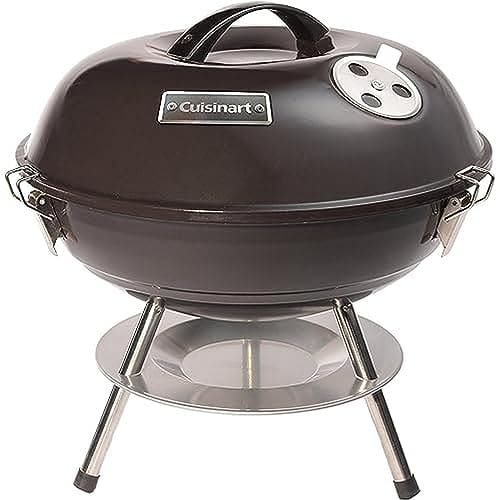
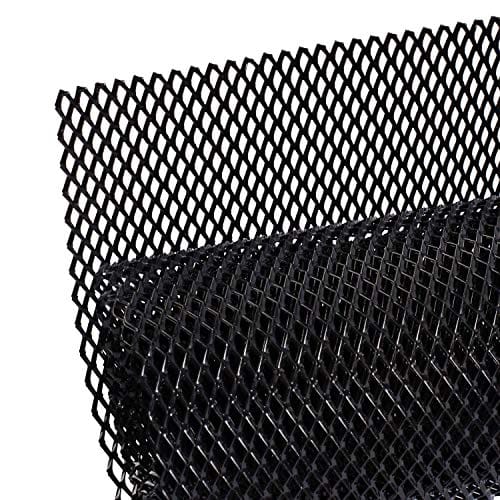
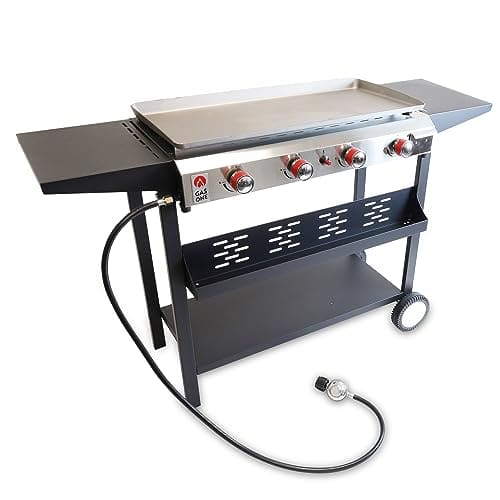
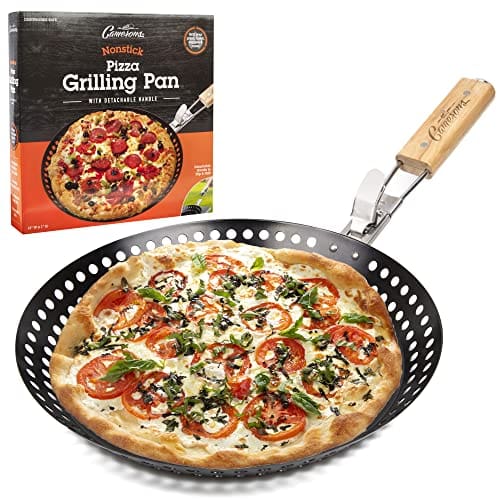
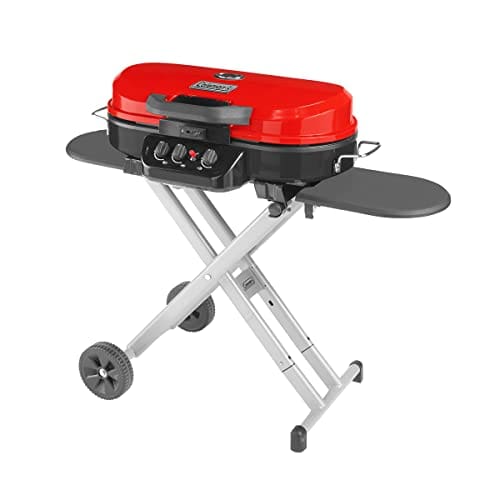
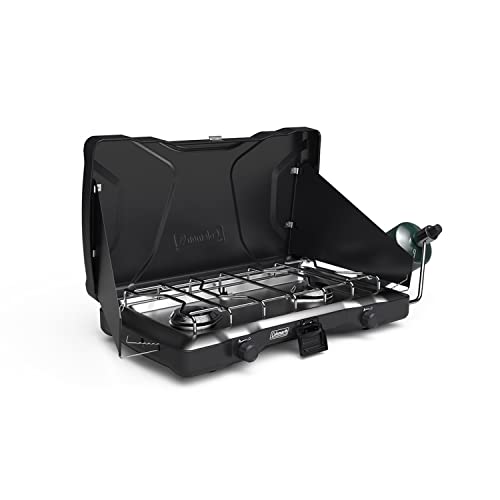
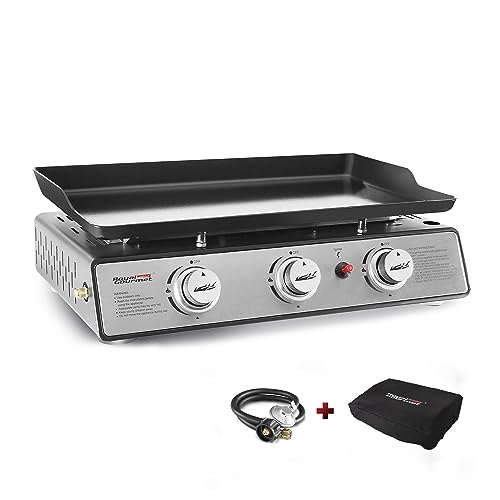
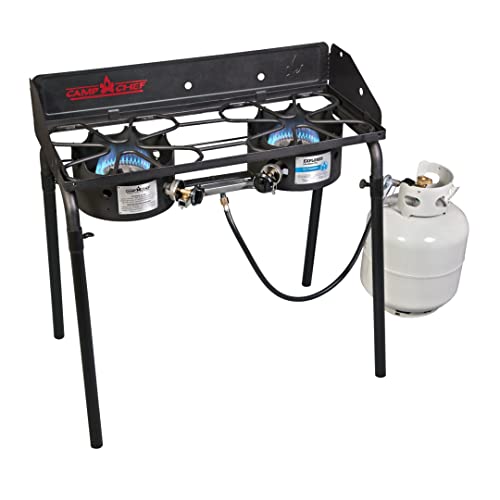
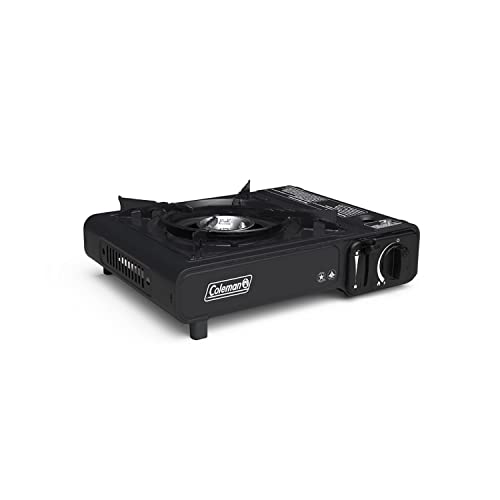
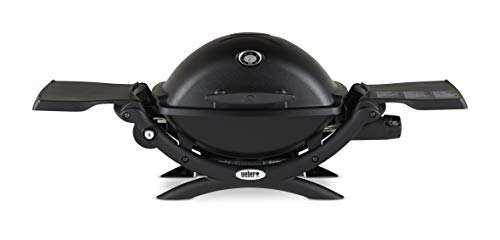
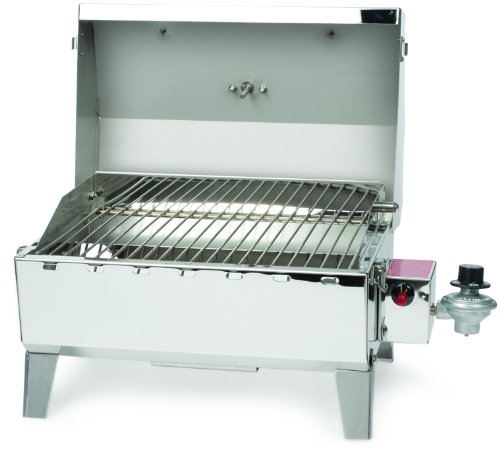
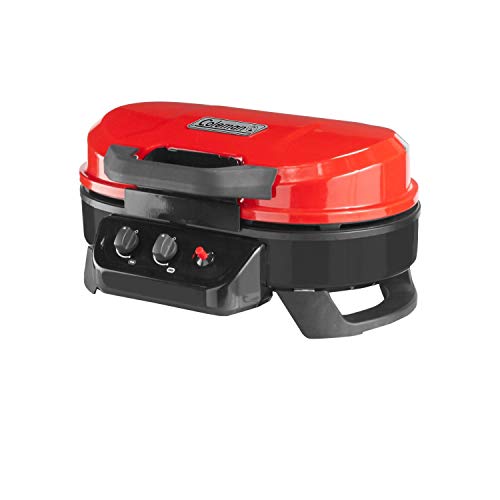
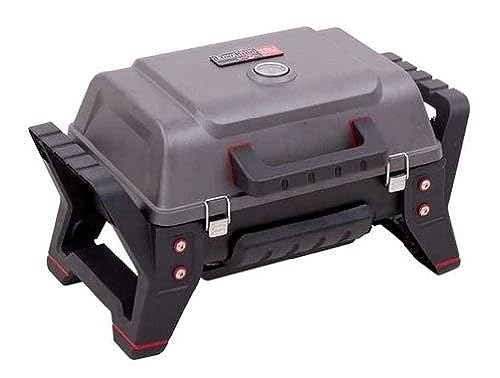
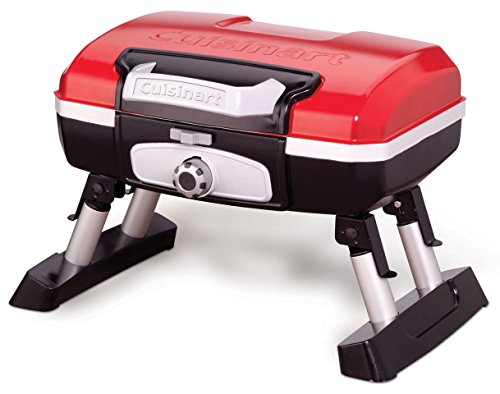
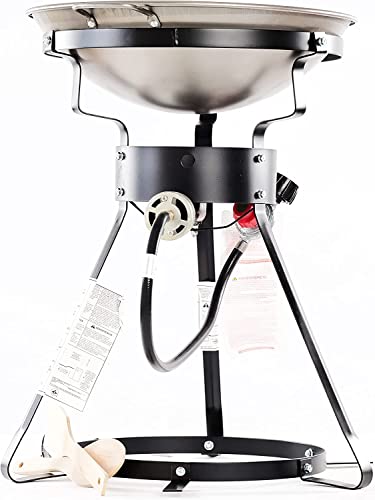
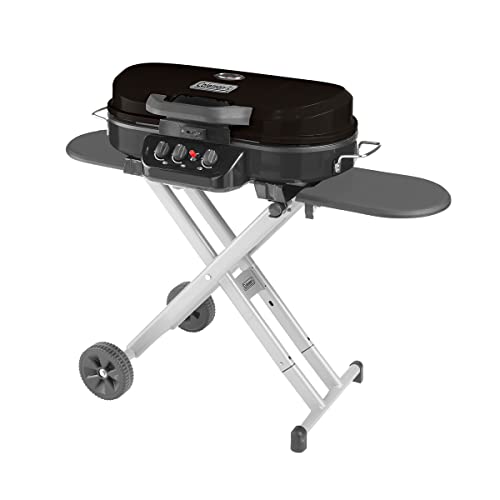
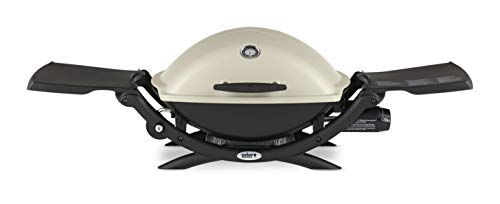
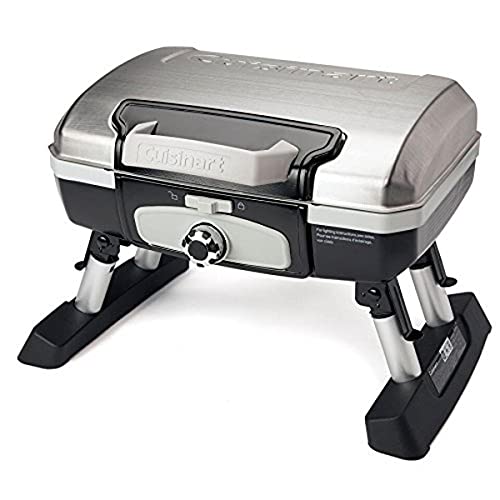
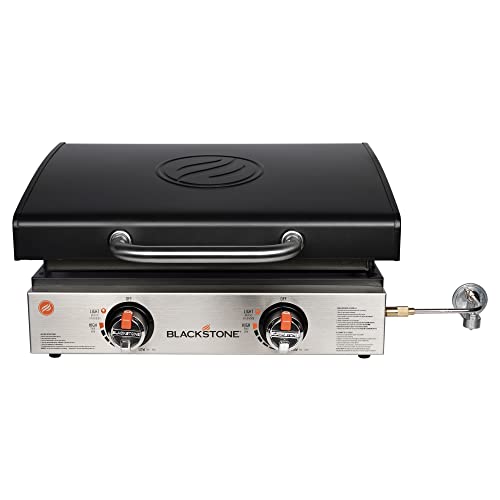
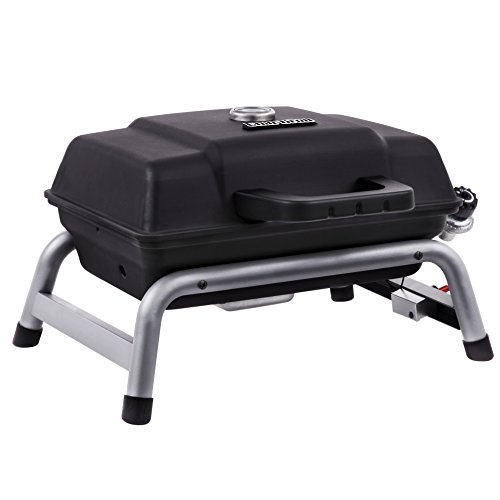
Top Grills for your Outdoor Cooking

Gather necessary supplies
Gather necessary supplies
Collect all the supplies you will need for transporting your camping grill. This includes a grill cover to protect it during the journey. Additionally, make sure to have bungee cords or straps to secure the grill in place. If your grill is heavy or bulky, consider using a dolly or cart to make the transportation process easier.
Clean the grill
- Remove any excess food particles from the grill grates by brushing them with a grill brush or scraper. This will help prevent any leftover residue from sticking to the grill and causing unnecessary mess.
- Wipe down the exterior of the grill with a damp cloth or sponge to remove any dirt or dust. This will ensure that your camping grill looks clean and presentable.
- Use a degreaser or soapy water to thoroughly clean the grill grates and remove any built-up grease or residue. Scrub the grates with a grill brush to ensure a deep clean. Rinse the grates with water and pat them dry before storing them.
- Check the fuel lines and burners for any blockages or obstructions. Clear any debris by gently poking through with a thin wire or pipe cleaner. This will ensure proper airflow and prevent any issues during grilling.
By following these steps to clean your camping grill, you will keep it in good condition and ready for your next outdoor adventure. Remember to clean it after each use for optimal performance and longevity.
Secure the propane or gas tank
To securely fasten your propane or gas tank for transportation, follow these steps:
- Disconnect the tank: Ensure that your camping grill is turned off and any burner valves are closed. Then, gently twist the fitting counterclockwise to detach the tank from the grill.
- Inspect for damage: Before securing the tank, visually inspect it for any visible damage, such as dents, cracks, or corrosion. Do not transport a damaged tank, as it may pose safety hazards.
- Fasten the tank: Place the tank in a secure location in your vehicle, such as the trunk or the bed of a truck. Use straps, bungee cords, or other secure fasteners to prevent the tank from rolling or shifting during transportation.
- Check for leaks: After securing the tank, it is important to double-check for any possible leaks. Apply a solution of water and dish soap to the valve and connections. If you see bubbles forming, it indicates a leak. In such cases, ensure the tank is not transported and disconnect it immediately.
By following these steps, you can ensure the safe transportation of your propane or gas tank and avoid any accidents or leaks that may occur during your camping trip.
Protect the grill surface
- Before transporting your grill, lay a grill cover or a towel over the grill surface to prevent scratches or damage.
- Place the cover or towel evenly over the grill, ensuring that the entire surface is protected.
- Secure the cover or towel in place by tying it down with ropes or bungee cords to keep it from sliding off during transportation.
- Double-check that the cover or towel is securely fastened before moving the grill to ensure maximum protection for the surface.
Secure the grill lid
To close and secure the grill lid, first remove any cooking grates or accessories. Then, lower the lid until it sits flush with the grill body. Next, use the latches or bungee cords provided to fasten the lid tightly. Make sure the latches are engaged or the bungee cords are stretched across the lid and secured to the grill body on both sides. For example, if your grill has latches, align them with the corresponding hooks on the grill body and firmly press down until you hear them click into place. If using bungee cords, wrap them around the lid handle or any suitable attachment points on both ends, ensuring a tight and secure fit. By following these steps, you can transport your grill without worrying about the lid opening or the grill getting damaged.

Strap down the grill
To securely strap down the camping grill, follow these steps:
- Gather the necessary materials: Grab bungee cords or straps long enough to wrap around the grill and secure it tightly. Ensure you have enough cords or straps to fasten all sides of the grill.
- Position the grill: Place the grill securely on your vehicle’s roof rack, truck bed, or dolly/cart if you are using one. Make sure it is balanced and centered to maintain stability during transportation.
- Attach the cords or straps: Begin by attaching one end of a bungee cord or strap to a sturdy point on your vehicle or the dolly/cart. Wrap the cord or strap around the grill and secure it tightly. Repeat this process for each side of the grill, using multiple cords or straps to ensure maximum stability.
- Check for stability: Once all cords or straps are securely fastened, give the grill a gentle shake to ensure it doesn’t move or wobble. If there is any movement, readjust the cords or straps until the grill is stable and firmly secured.
By using bungee cords or straps to strap down your camping grill, you can feel confident that it won’t shift or move during transportation, keeping both your grill and vehicle safe.
Double-check the setup
- Double-check all the connections, straps, and security measures before you start driving.
- Ensure that everything is properly secured and the grill is ready for transportation.
- Make sure all the connections are tightened and straps are properly fastened.
- Check if the grill is stable and not wobbly.
- Verify that any components that need to be removed or secured for transportation are taken care of.
- Ensure that the grill lid and any other movable parts are securely closed and locked.
- Confirm that the grill is properly positioned in the vehicle, with enough clearance and stability.
- Examine the surrounding area to ensure there are no loose objects that could hit or damage the grill during transportation.
- Give a final inspection to ensure everything is in place and properly prepared before hitting the road.
Transport the grill
Transporting the camping grill safely requires careful attention. Securely load the grill into your vehicle, ensuring it is stable and well-balanced. Drive cautiously and avoid sudden movements or sharp turns that may cause the grill to shift or fall.
Unload and set up the grill
Once you have reached your destination, carefully unload the camping grill from its transportation case or packaging. Place it on a designated area where you plan to set it up. Follow the manufacturer’s instructions to assemble the grill step by step, ensuring all parts are securely in place. It is crucial to position the grill on a stable and level surface to prevent any accidents or damage while cooking.
Tips for Safe Transportation
In conclusion, transporting a camping grill requires careful consideration and proper precautions. Throughout this guide, we have emphasized the significance of securing and protecting your grill during transportation to ensure its safety and integrity. By using appropriate tie-downs, covers, and storage methods, you can avoid damage and maintain the functionality of your grill for many future camping trips. Remember, the key to successful transportation lies in your attention to detail and commitment to safeguarding your equipment. Happy camping!
Essential Equipment
Expert advice
Setting up the Weber Q1200 Portable Propane Grill
Step-by-Step Guide on Using a Camping Grill
- Choose a suitable location: Find a safe and designated spot for your camping grill, away from any combustible materials and in an open area with proper ventilation
- Assemble the camping grill: Read the manufacturer’s instructions carefully and put together your camping grill according to the provided guidelines. Make sure all the components are securely connected
- Prepare the fuel: Depending on your grill type, prepare the fuel accordingly. For charcoal grills, stack briquettes in a pyramid shape and use lighter fluid or chimney starters to ignite them. For gas grills, attach the propane tank securely, following the grill’s instructions
- Ignite the grill: Light your camping grill using the appropriate method for your fuel type. Be cautious and follow safety precautions to prevent accidents
- Allow the grill to preheat: After lighting your grill, give it some time to heat up. Close the lid if your grill has one and let it reach the desired temperature
- Place the food on the grill: Once the grill is preheated, carefully place your food on the cooking surface. Adjust the heat by adjusting the fuel flow or the height of the grill grates, depending on the grill model
- Monitor the cooking: Keep an eye on your food while it’s cooking to avoid burning or undercooking. Regularly flip and rotate the food for even cooking
- Use proper utensils: To avoid any accidents, always use long-handled tongs, spatulas, and oven mitts when handling the food or adjusting the grill
- Ensure food safety: Make sure the meat is cooked to the appropriate internal temperature to prevent any health risks. Use a meat thermometer to check doneness
- Clean and store the grill: Once you’re done grilling, let the grill cool down and then clean it thoroughly. Remove any food debris and grease from the grates and surfaces. Follow the manufacturer’s guidelines for proper cleaning and storage of your camping grill