How to Pack and Transport Your Lightweight Grill for Outdoor Adventures
In this step-by-step guide, you will learn how to pack and transport your lightweight grill for outdoor adventures. We will provide you with easy-to-follow instructions to ensure that your grill is well-prepared for camping, picnics, and tailgating. By following these steps, you can enjoy a convenient and enhanced outdoor cooking experience. So, let’s get started!
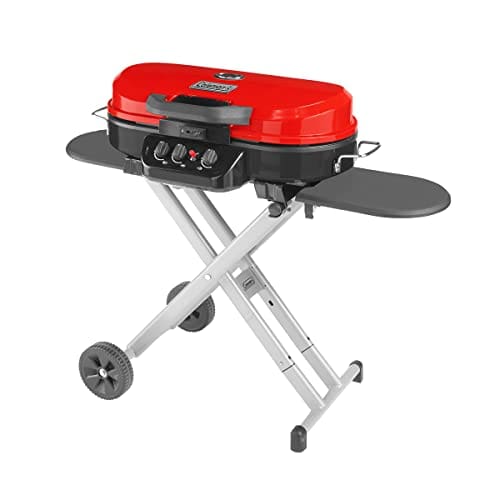
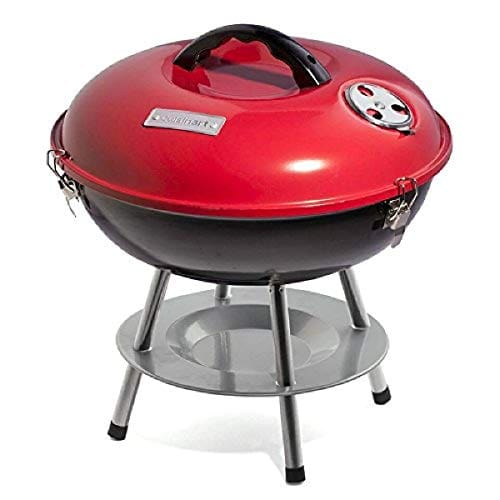
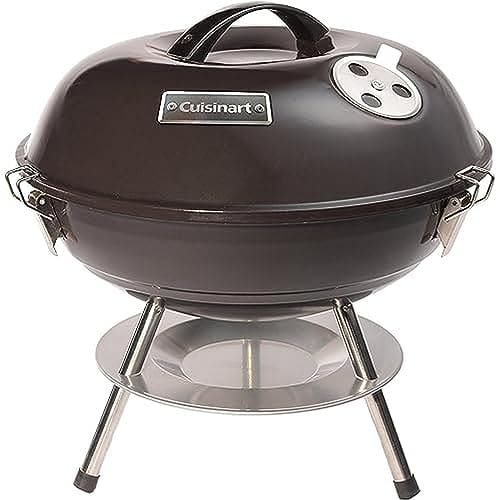
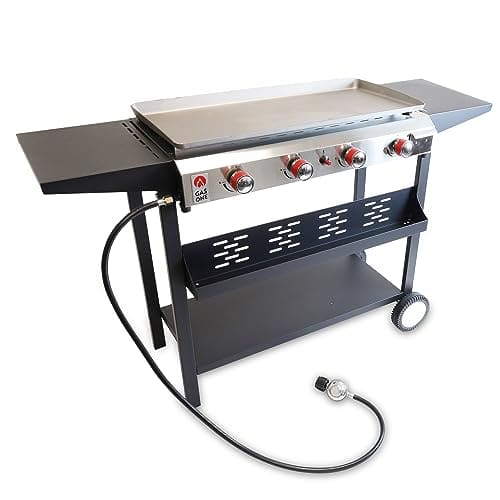
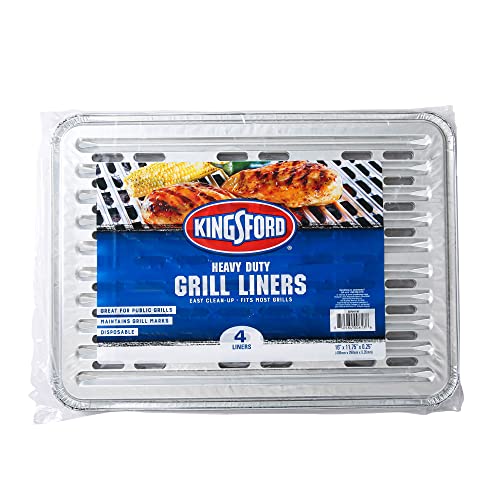
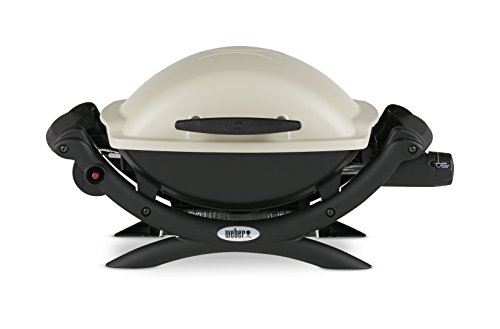
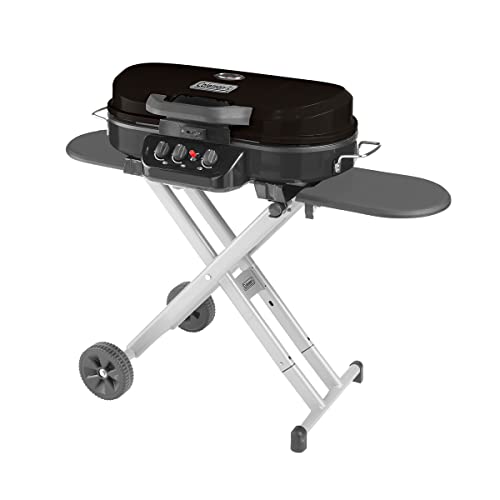
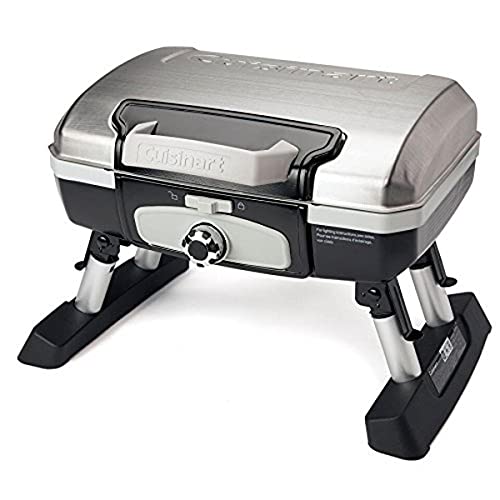
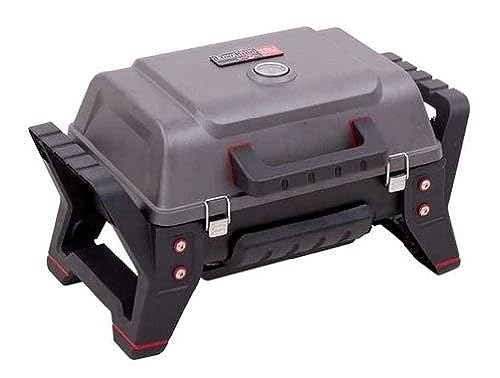
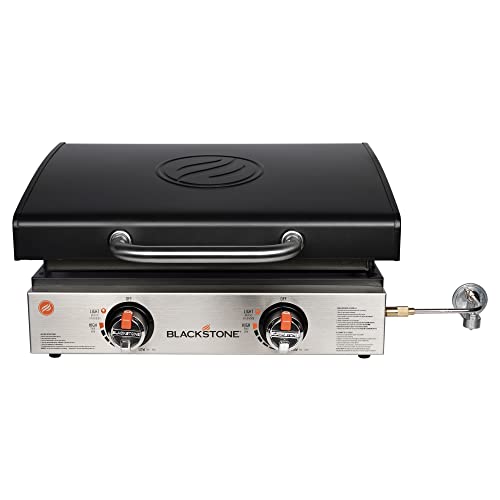
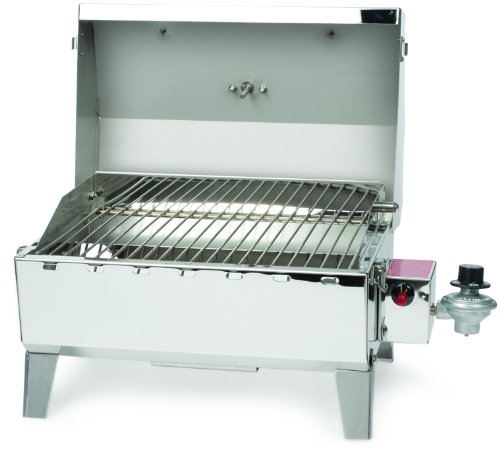
Top-selling portable grills


Gather Necessary Supplies
Before you start packing your lightweight grill, gather all the necessary supplies. Begin by ensuring you have the grill itself. Make sure it is clean, in good condition, and suitable for the type of grilling you plan to do. Next, check if your grill requires any fuel, such as charcoal, propane, or wood pellets. If so, make sure you have enough to last throughout your grilling session.
Don’t forget to pack your grilling utensils. These may include a spatula, tongs, a basting brush, and skewers. Consider the type of food you plan to cook and pack the appropriate utensils. Additionally, don’t overlook the importance of cleaning supplies. Bring a brush or scraper to clean the grill grates, as well as wet wipes or paper towels for quick clean-ups.
Finally, think about any additional accessories you may need. This could include aluminum foil for wrapping delicate items or creating makeshift grilling surfaces, oven mitts or heat-resistant gloves to protect your hands, and a meat thermometer to ensure your food reaches the safe internal temperature. Consider your specific grilling needs and pack accordingly.


Clean and Inspect the Grill
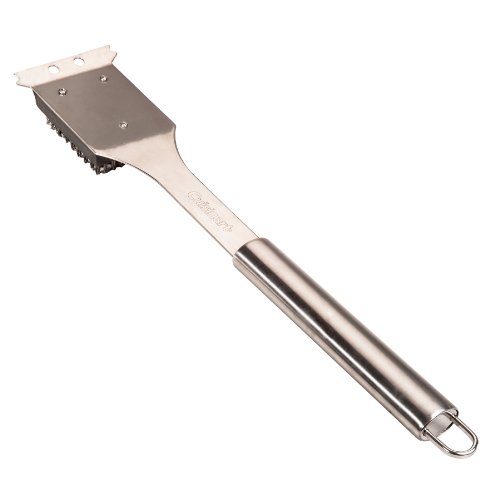
- Brush: Start by using a grill brush to remove any stubborn food particles or debris from the grill grates. Scrub the grates thoroughly, making sure to get into all the corners and edges. This will help prevent any residue from affecting the taste of your food.
- Soapy water: Prepare a bucket of warm soapy water. Dip a sponge or cloth into the soapy water and use it to clean the grill grates, burners, and other surfaces. Gently scrub away any grease or stains, paying extra attention to any particularly dirty areas.
- Rinse: After scrubbing, rinse the grill grates, burners, and surfaces with clean water to remove any soapy residue. This step is essential to ensure that no soap remains that could potentially contaminate your food.
- Inspect: Once the grill is clean, carefully inspect it for any damages or loose parts. Check for any cracks or chips that may affect the grill’s performance or safety. Additionally, ensure that all the components are securely in place and in good condition. If you notice any issues, make note of them for repair or replacement.
By thoroughly cleaning and inspecting your grill before packing it away, you are not only ensuring its longevity but also guaranteeing a safe and enjoyable grilling experience for your next outing.


Disassemble and Secure the Grill
- Carefully follow the manufacturer’s instructions to disassemble your lightweight grill.
- Start by removing any detachable parts, such as the grill grates, burners, propane tanks, or stands.
- Take note of any screws, bolts, or connectors that hold the grill together and carefully unscrew or detach them.
- Place the disassembled parts in a safe and organized manner, ensuring they won’t get damaged or lost during transportation.
- Keep track of small accessories, like knobs or handles, and secure them separately if needed.
- Make sure to clean any grease or residue from the grill before disassembling to prevent it from spreading to other parts during transit.
Securing Loose Parts
- After disassembling the grill, secure any loose parts or accessories to prevent them from moving or getting damaged during transport.
- Use zip ties, bungee cords, or packing tape to tightly fasten any detachable pieces together.
- Wrap individual parts with bubble wrap or newspaper to provide extra protection against scratches or impacts.
- For example, you can zip tie the grill grates securely to the main body of the grill or tape the propane tank’s valve shut to prevent accidental opening.
- Label or mark the secured parts to remember how they fit together when reassembling the grill at your destination.
- Remember to pack any tools or screws needed for reassembly separately, ensuring they are easily accessible when needed.


Protect the Grill
To protect your grill from scratches, dents, and dust, follow these steps:
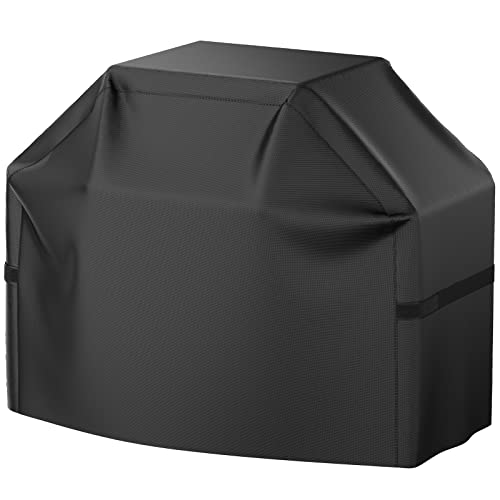
- Wrap it in a grill cover or use a padded storage bag: Covering your grill with a proper grill cover or storing it in a padded storage bag will provide a protective layer against external elements. The cover or bag should be made of durable and weather-resistant material to ensure maximum protection. Make sure the cover or bag fits snugly over the grill to prevent it from slipping off.
- Use bubble wrap or towels for extra cushioning: Consider placing a layer of bubble wrap or towels around delicate parts of the grill, such as knobs or handles, to provide additional cushioning during transportation. This will help prevent any accidental bumps or impacts that could result in damage. Wrap the bubble wrap or towels securely and tape them in place to keep them from shifting during transport.
By following these steps, you can protect your grill from potential scratches, dents, and dust accumulation, ensuring its longevity and keeping it in good condition. Remember to always handle your grill with care and store it in a safe place when not in use.


Pack and Transport
Choose a sturdy and properly sized container for your grill: When packing and transporting your grill, it is crucial to select a container that can safely hold all the components. Look for a hard-sided cooler, storage bin, or a specialized grill carrying case that can accommodate the size and shape of your grill. For example, a cooler with a capacity of at least 50 quarts would be suitable for most portable grills.
Place the disassembled grill and accessories inside the container: Begin by taking apart your grill, removing any detachable parts such as grates, burners, or side tables. This will make it easier to fit everything securely inside the container. Ensure that all components are clean and dry to prevent any damage or corrosion during transportation. Carefully arrange the disassembled grill and its accessories inside the container, making sure they fit snugly without excessive movement. For example, you can place the grates and burners on the bottom, followed by the main body of the grill, and finally the smaller accessories on top.
Secure the container with straps or bungee cords: Once everything is inside the container, take extra precautions to prevent it from shifting or opening during transport. Use sturdy straps or bungee cords to secure the container tightly. Wrap the straps or cords around the container and fasten them securely, ensuring that there is sufficient tension to hold everything in place. For instance, crisscross the straps over the top of the container and tighten them until the container feels stable and immobile. This will prevent any accidental spills or damage to your grill while in transit.


Summary of Tips
In conclusion, packing and transporting your lightweight grill for outdoor adventures is a straightforward process when you follow the steps outlined in this blog post. Make sure to gather all the necessary supplies, thoroughly clean and inspect your grill, carefully disassemble and secure it, protect it with covers or bags, and pack it securely in a suitable container. By doing so, you can ensure that your grill is well-protected and ready for use wherever your outdoor adventures take you. So, start planning your next grilling experience with confidence and savor the flavors of the great outdoors!
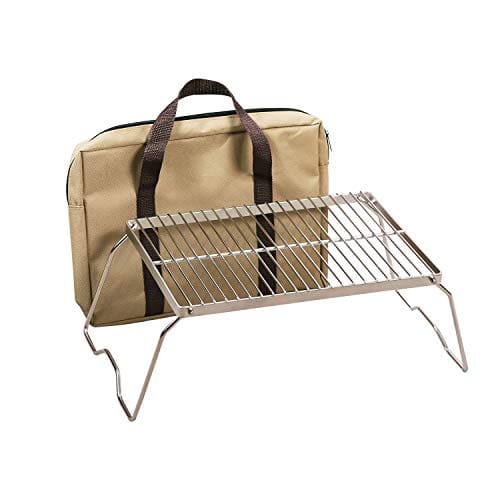
Necessary Equipment
Expert Advice for Grill Mobility
Introducing the AOR – American Off Road – Adventure Series Collapsible Camping BBQ Grill with Bag
Step-by-step instructions for using a lightweight grill
- Ensure the grill is placed on a stable and flat surface, away from any flammable materials or structures
- Before starting, check that the gas tank is properly connected and fully filled
- Open the lid and turn the gas tank valve on fully. Then, slowly turn one of the burner knobs to the “ignite” setting
- Once the grill is ignited, preheat it for approximately 10-15 minutes with the lid closed
- Before cooking, clean the grates by using a wire brush to remove any debris or food residue
- Adjust the heat by using the control knobs, and preheat the grill to the desired temperature (usually indicated in a recipe or personal preference)
- When placing food on the grill, use long-handled tongs or spatulas to avoid burning yourself
- Cook food according to the appropriate cooking times and temperatures, flipping or rotating as needed
- Remember to never leave the grill unattended while in use and always keep a fire extinguisher nearby for safety
- Once finished cooking, turn off all burners and allow the grill to cool completely before cleaning
- Clean the grill grates using a wire brush again, and wipe down the exterior of the grill with a damp cloth
- Finally, disconnect the gas tank and store it in a well-ventilated area, away from direct sunlight or extreme temperatures
Frequently Asked Questions about Lightweight Grills
Are there any specific materials used to construct lightweight grills?
Yes, there are specific materials used to construct lightweight grills. Here are some commonly used materials:
- Aluminum: Aluminum is a popular choice for lightweight grills due to its low density and excellent heat conductivity. It is also resistant to rust and corrosion, making it suitable for outdoor use.
- Stainless Steel: Some lightweight grills are made from stainless steel, which is known for its durability and resistance to rust. However, stainless steel grills might be slightly heavier compared to aluminum ones.
- Titanium: Although not as commonly used as aluminum or stainless steel, titanium is an extremely lightweight yet strong material. Titanium grills have excellent heat resistance and are particularly popular among backpackers and outdoor enthusiasts.