How to cook with a backpacking grill?
Are you planning a backpacking trip and wondering how to cook delicious meals on the go? Our step-by-step guide on how to cook with a backpacking grill is here to help you. This guide aims to provide you with a clear understanding of how to use a backpacking grill effectively, allowing you to enjoy hot and satisfying meals while exploring the great outdoors.
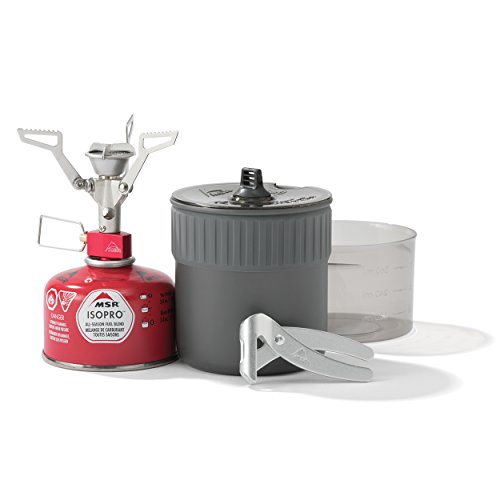
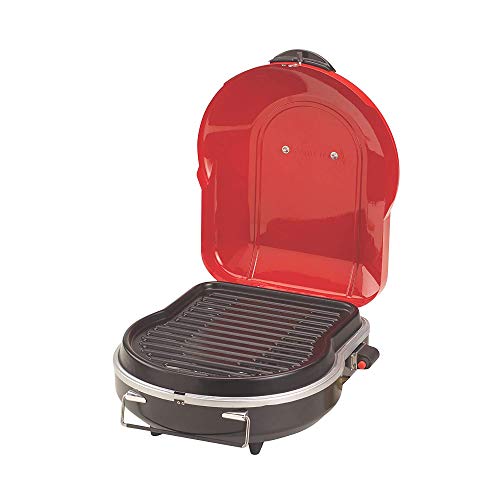
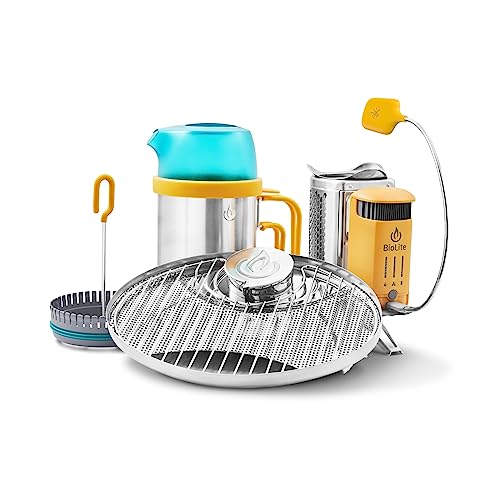
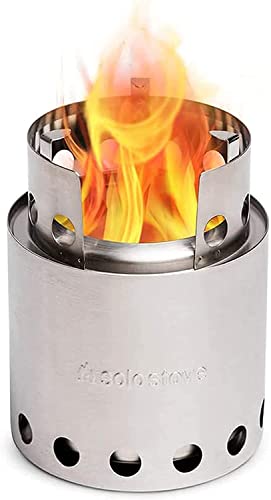
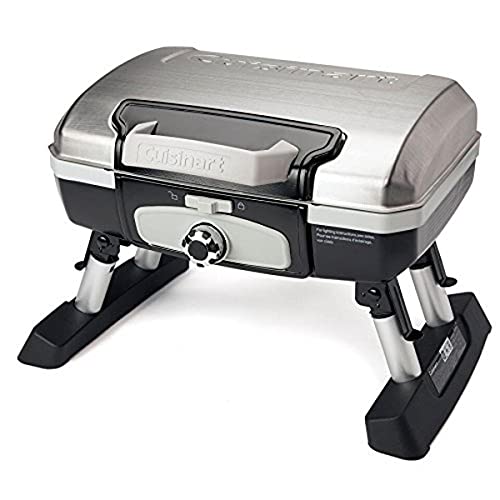
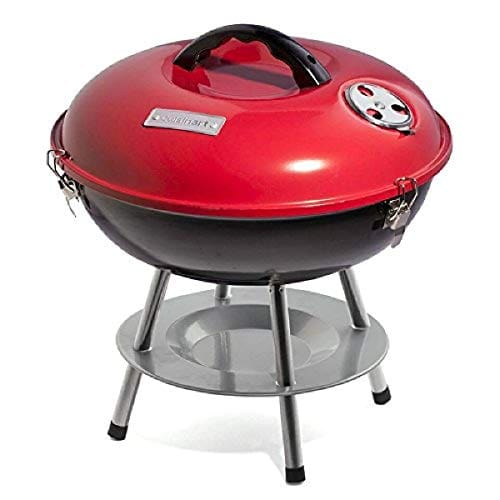
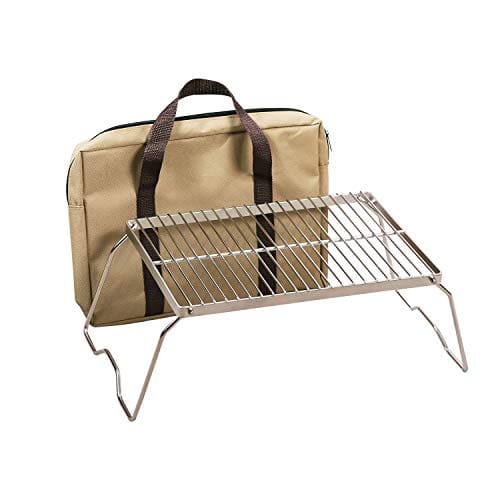
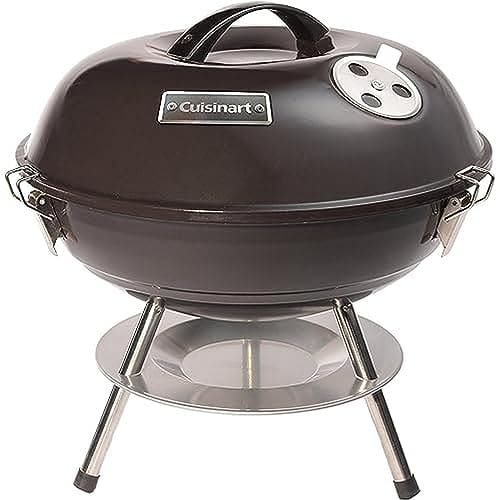
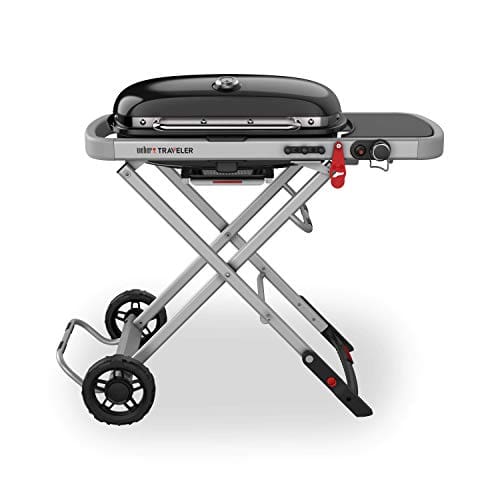
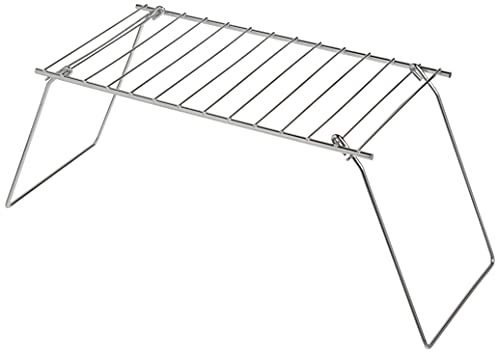
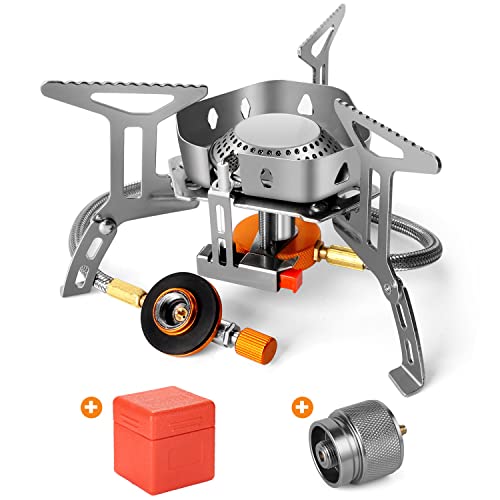
Top-rated portable grills for outdoor adventures
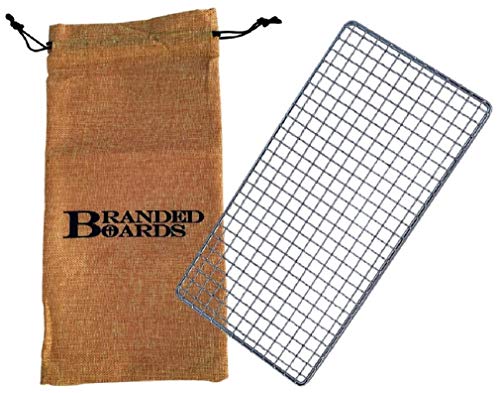

Step 1: Choose a suitable backpacking grill
When choosing a suitable backpacking grill, it is important to consider factors such as size, weight, and ease of assembly. Look for a lightweight and compact grill that will be easy to carry during your outdoor adventures. A smaller grill will take up less space in your backpack and be more convenient to transport.
Make sure to check the weight of the grill before making a purchase. Heavy grills can be cumbersome to carry, especially if you have a long hiking or backpacking trip ahead. Opt for a grill that is made from lightweight materials such as aluminum or titanium, which will be easier to carry without adding unnecessary weight to your pack.
Furthermore, consider the ease of assembly when selecting your backpacking grill. Look for a grill that can be easily set up and taken down without any complicated instructions or tools. A grill with a simple and straightforward design will save you time and frustration, allowing you to quickly start cooking your delicious meals in the great outdoors.
Remember, a suitable backpacking grill should be lightweight, compact, and easy to assemble. Consider these factors when making your selection to ensure you have a convenient and efficient cooking companion for your outdoor adventures.

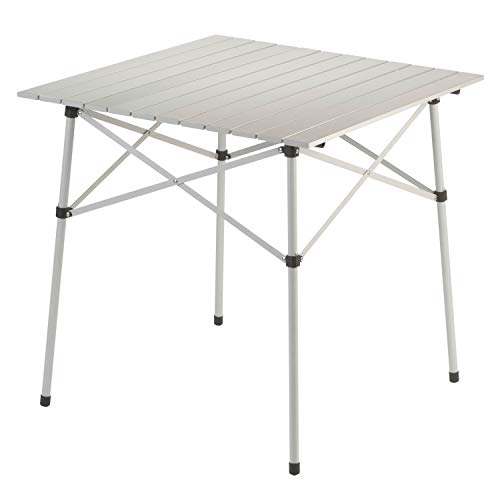
Step 2: Prepare the cooking area
To prepare the cooking area for your backpacking grill, the first step is to find a level and stable surface. Look for a flat area where you can safely set up your grill without it wobbling or tipping over. This will help to ensure that your cooking experience is safe and enjoyable.
Next, it’s important to clear the surrounding area of any flammable materials. This includes dry grass, leaves, twigs, or anything that could easily catch fire. Creating a clear space around your cooking area will reduce the risk of accidental fires and keep you safe during your cooking session.
In addition, proper ventilation is crucial for safety when using a backpacking grill. Make sure that you have adequate airflow around your cooking area to prevent the buildup of smoke or gas. This can be achieved by setting up your grill in an open area with good air circulation.
By following these steps, you can create a safe and suitable cooking area for your backpacking grill. Remember, finding a level surface, clearing flammable materials, and ensuring proper ventilation are essential for a successful outdoor cooking experience.

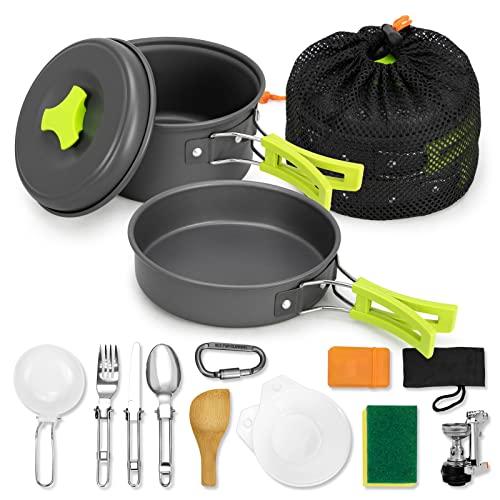
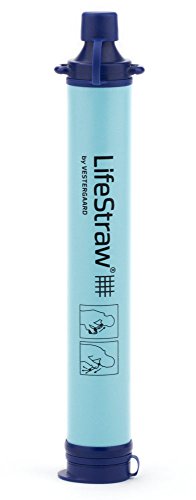
Step 3: Gather necessary cooking tools and ingredients
To gather all the necessary cooking tools and ingredients for your meal, start by planning your menu. Decide what recipe you will be preparing and make a list of all the ingredients required. This will enable you to ensure you have everything you need and avoid any last-minute scrambling.
Once you have your list of ingredients, gather all the necessary cooking tools. This may include utensils like knives, spatulas, spoons, and tongs. In addition, make sure you have plates, bowls, and any other serving dishes you may need. Don’t forget to grab cooking oil or any other cooking essentials like herbs, spices, or sauces.
After identifying all the tools and ingredients you need, pack them in your backpack or a suitable container for easy transport. Double-check your list to ensure you haven’t missed anything essential. This way, you’ll be fully prepared to start cooking when you reach your destination.
Remember, collecting all the necessary tools and ingredients in advance will save you time and stress during the cooking process. So, plan ahead and gather everything you need to make your meal a success.


Step 4: Set up the backpacking grill
To assemble and set up your backpacking grill, start by carefully following the manufacturer’s instructions. These instructions will guide you through the specific steps needed to put your grill together correctly. Make sure you have all the necessary parts and tools before you begin.
Begin by laying out all the components of your backpacking grill in a clear workspace. Check that you have all the required pieces and ensure they are in good condition. Start by attaching the legs or support system to the base of the grill. Use the provided screws or fasteners to secure them tightly, ensuring stability. Next, attach the grates or cooking surface according to the manufacturer’s instructions. This may involve sliding them into place or using fasteners to hold them securely.
Once you have assembled the main structure of the grill, it’s essential to check that everything is securely attached. Give the grill a gentle shake to ensure there is no wobbling or loose parts. If anything feels unstable, tighten the screws or connections as needed. It’s crucial to have a stable grill to prevent any accidents during use.
After confirming the stability, you can proceed to place your backpacking grill in a suitable area for cooking. Remember to follow any additional safety guidelines provided by the manufacturer to ensure a safe and enjoyable grilling experience. By carefully assembling and setting up your backpacking grill, you can now look forward to cooking delicious meals while out on your adventures.

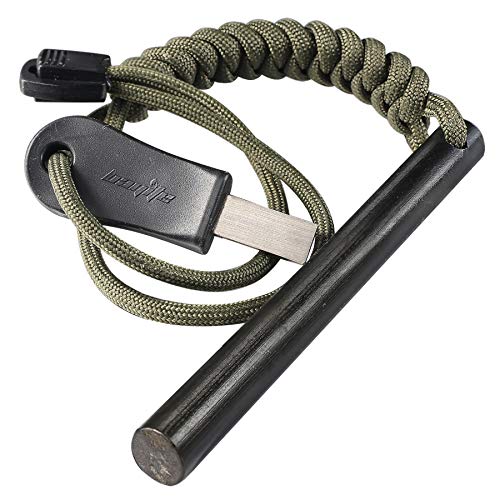
Step 5: Ignite the grill
To ignite the grill, use a suitable ignition method like a lighter or matches to start the fire. First, make sure you have placed your grill in a safe outdoor area away from any flammable objects. Then, follow the specific instructions provided with your grill for safe and efficient ignition. Here are a few examples to help you understand the process:
- If using a lighter: Open the grill lid and turn on the gas supply or ensure there is enough charcoal in the grill. Hold the lighter close to the burner or charcoal and press the ignition button or knob. Once the flame has ignited, continue holding the button or knob for a few seconds until the fire is steady. Finally, close the grill lid and let it preheat.
- If using matches: Open the grill lid and arrange the charcoal or briquettes in a pyramid shape. Light the match and carefully light the charcoal at the bottom of the pyramid. As the fire spreads, it will gradually ignite the rest of the charcoal. Avoid using too much lighter fluid, if any, as it can affect the taste of your food. Once the coals are lit, carefully place the grill grate over them, followed by the grill lid.
Remember, it is crucial to read and follow the specific instructions provided with your grill to ensure safe ignition and usage.


Step 6: Preheat the grill
Allow the grill to preheat for a few minutes before cooking your food. This is an important step to ensure even cooking and prevent food from sticking to the grill. Here’s what you need to do:
- Turn on the grill: Start by turning on your grill and setting it to the desired temperature. Most grills have temperature controls that allow you to adjust the heat accordingly.
- Close the lid: Close the lid of the grill and let it preheat for at least 10-15 minutes. This will allow the heat to distribute evenly throughout the cooking surface.
- Monitor the temperature: Use a grill thermometer, if available, to monitor the temperature inside the grill. It should reach the desired cooking temperature before you begin grilling your food.
- Prevent sticking: The preheating process helps to prevent food from sticking to the grill. The heat will sear the surface of the food, creating a non-stick barrier and enhancing the flavor.
By following these steps and allowing your grill to preheat properly, you’ll ensure that your food cooks evenly, doesn’t stick, and achieves delicious results. Enjoy your grilling!
Step 7: Cook your meal
To cook your meal, start by placing your ingredients on the grill. Make sure to arrange them in a way that allows for even cooking. For example:
- Place the chicken breasts on one side of the grill.
- Put the vegetables on a grill tray or skewers on the other side.
Next, refer to your recipe for specific cooking instructions. If it mentions a preheated grill, preheat it accordingly. Once the grill is ready, follow these steps:
- Turn on the heat and close the lid.
- Cook the chicken on high heat for 5 minutes per side, or until it reaches an internal temperature of 165°F (74°C).
- Stir the vegetables frequently, ensuring they cook evenly. Grill until they are slightly charred and tender, usually around 10-15 minutes.
While cooking, it’s important to monitor the heat to prevent burning or undercooking. Here’s how to adjust the heat as necessary:
- If your food is cooking too quickly or getting burnt, reduce the heat by turning down the flame or moving the food to a cooler area of the grill.
- On the other hand, if your food is taking too long to cook, increase the heat by turning up the flame or moving the food to a hotter spot on the grill.
Remember to follow any additional instructions provided by your recipe, such as basting the food with marinade or brushing it with oil. By monitoring the heat and adjusting as needed, you can achieve the perfect cooking results for your meal.
Key Takeaways from Cooking with a Backpacking Grill
In conclusion, cooking with a backpacking grill can be an enjoyable and convenient way to prepare meals while on the go. Throughout this guide, we have emphasized the importance of safety, proper assembly, and following the manufacturer’s instructions. By ensuring that you take these precautions, you can have a successful and rewarding cooking experience with your backpacking grill. So go ahead, pack your grill, embark on your adventures, and savor delicious meals in the great outdoors with confidence. Happy backpacking cooking!