How to assemble a portable barbecue?
If you’re looking to assemble a portable barbecue, this step-by-step guide is here to help! This guide will walk you through the process of setting up your portable barbecue so that you can start grilling in no time. Just follow along with the instructions, and you’ll have your barbecue ready for your next outdoor gathering. Happy grilling!
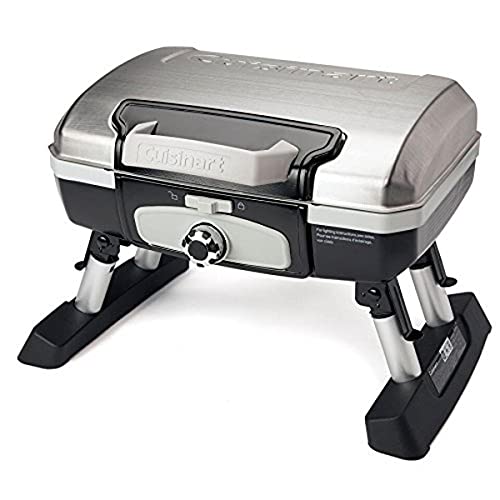
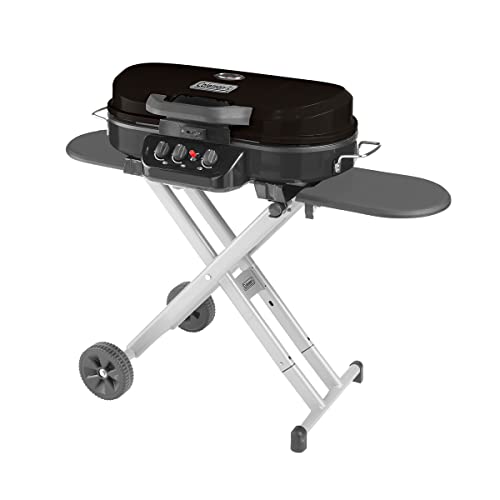
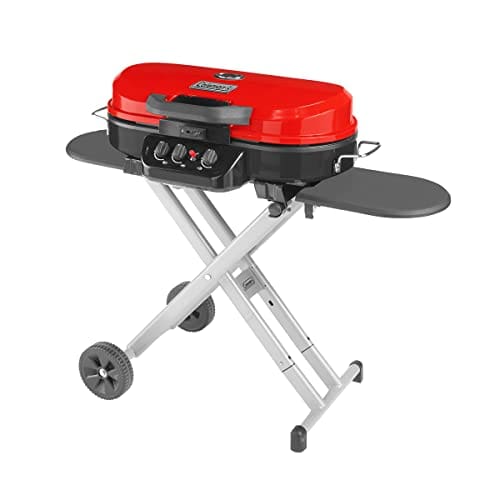
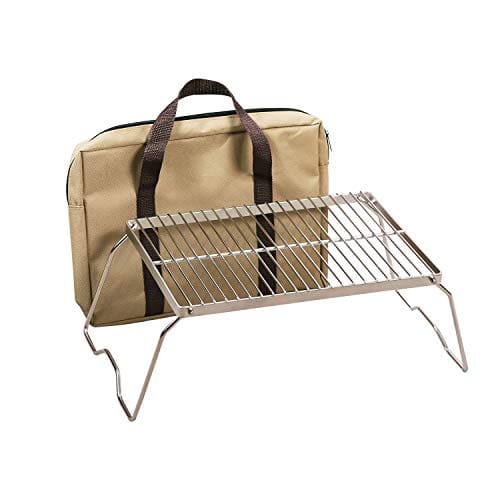
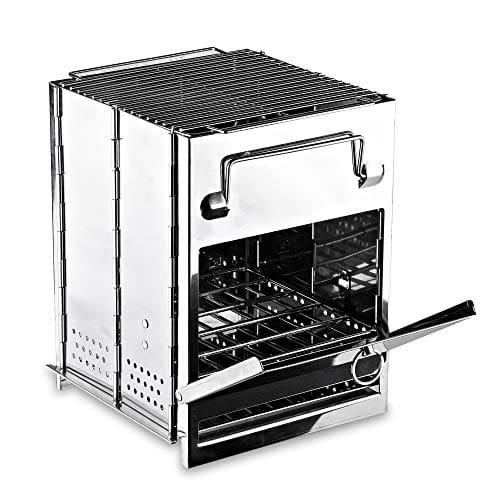
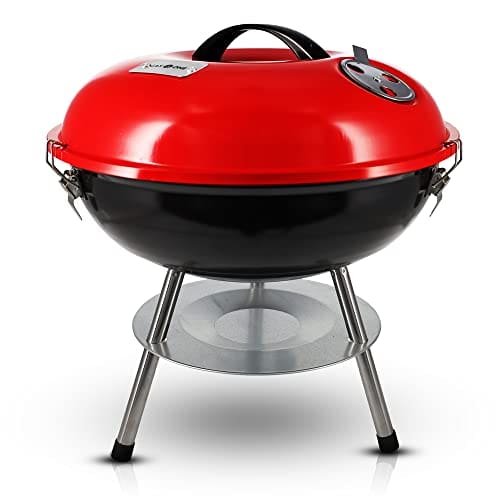
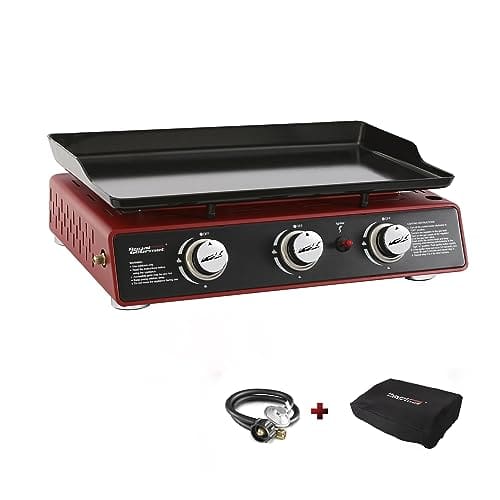
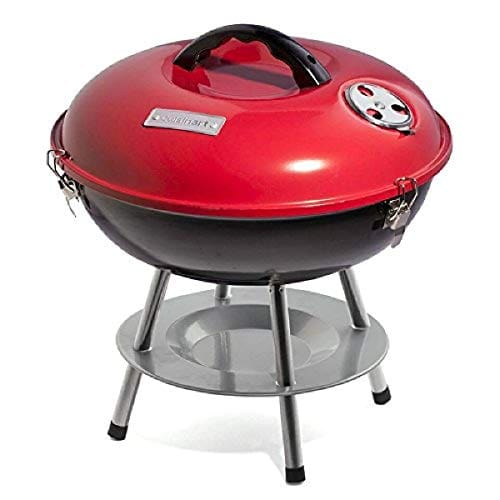
Top-Selling Portable Barbecue Grills


Check the package
Before you begin assembling your portable barbecue, it is important to check the package to ensure that all the necessary parts are included. This step is crucial as it will save you time and frustration later on.
To start, carefully open the package and lay out its contents in a well-lit area. Take inventory of the components, making sure you have everything you need for the assembly process. You should typically find the main body of the barbecue, grill grates, legs or stand, and any additional accessories that come with the specific model you purchased.
Inspect each item closely, looking for any signs of damage or missing parts. If you notice any issues, it is important to contact the manufacturer or retailer immediately to resolve the problem.
By thoroughly checking the package before you begin assembling your portable barbecue, you can ensure that you have all the necessary parts and avoid any potential setbacks in the assembly process.

Attach the legs
To attach the legs to your portable barbecue, follow these simple steps:
- Locate the leg attachment points: Look for the designated spots on the main body of your barbecue where the legs should be secured. These attachment points are usually small holes or brackets.
- Align the legs: Take one of the legs and align it with the corresponding attachment point on the barbecue. Make sure the leg is positioned correctly, with any adjustable feet or grips facing downwards.
- Secure the legs: Depending on your barbecue model, you may need to screw or clip the legs into place. If using screws, insert them through the attachment holes on the leg and tighten them into the designated holes on the main body of the barbecue. If using a clipping mechanism, simply line up the clips on the leg with the attachment points and press firmly until you hear a click.
- Repeat for remaining legs: Once the first leg is securely attached, repeat the process for the remaining legs. Ensure they are aligned correctly and fasten them tightly to provide stability during use.
Remember, it’s crucial to securely fasten the legs to prevent accidents or instability while using your portable barbecue. Double-check that all legs are properly attached before using your barbecue to ensure a safe and enjoyable grilling experience.


Insert the grill grates
To insert the grill grates, start by locating the designated slots or hooks inside your barbecue. These are usually found near the bottom of the barbecue, where the heat source is located. The slots or hooks may be metal rods or brackets specifically designed to hold the grates securely in place.
Once you’ve located the slots or hooks, lift the grill grates and position them onto the designated slots or hooks. Make sure the grates are properly aligned and fit securely. This will prevent them from moving or falling while you’re cooking.
For example, if your barbecue has two separate grates, you might place one grate on the left slots/hooks and the other on the right slots/hooks. If your barbecue has only one large grate, ensure it covers the entire bottom part of the barbecue.
Keep in mind that different barbecues may have different mechanisms for securing the grates. Some barbecues have adjustable brackets, while others may require you to slide the grates onto metal rods. In any case, follow the manufacturer’s instructions to ensure you install the grates correctly.
By properly inserting the grill grates onto the designated slots or hooks, you’ll have a sturdy and reliable surface for cooking your food. This step is crucial to ensure even heat distribution and prevent any accidents or mishaps while you’re barbecuing.

![Comfy Package, 12 Inch Bamboo Wooden Skewers For Shish Kabob, Grilling, Fruits, Appetizers and Cocktails [100 Count]](https://m.media-amazon.com/images/I/41RLbhHTQyL.jpg)

Connect the gas or charcoal system
If your portable barbecue is gas-powered, start by connecting the gas canister or bottle to the designated inlet on the barbecue. Make sure the barbecue is turned off before you begin. Locate the inlet on the barbecue, usually located at the bottom or side of the unit. Remove the protective cap from the inlet and check for any debris or blockages. Connect the gas canister or bottle to the inlet by aligning the connection points and twisting it clockwise until it is securely attached. Once connected, make sure there are no leaks by applying a soapy water solution to the connection points. If you see any bubbles forming, there is a leak and you should immediately disconnect the gas and check for any issues.
If your portable barbecue is charcoal-powered, start by placing the charcoal in the designated area. Typically, there is a compartment or tray specifically designed for holding the charcoal. Open the compartment and evenly distribute the charcoal across the area. Make sure to leave enough space for air ventilation to allow the charcoal to burn properly. Always follow the manufacturer’s instructions for the specific model of your barbecue, as the design may vary. Once the charcoal is in place, close the compartment securely. Ensure that there are no gaps or openings where the charcoal might fall out. Lastly, check the ventilation system on the barbecue. It is important to have proper airflow to allow the charcoal to burn efficiently. Follow the manufacturer’s instructions carefully to ensure the correct set up and use of your charcoal-powered barbecue.


Light the barbecue
If you have a gas-powered barbecue, turn on the gas and ignite the burners according to the manufacturer’s instructions. Ensure that the gas valve on the propane tank is open, and then turn on the control knobs on the barbecue. To ignite the burners, press and hold the ignition button or use a long-reach lighter near the burner ports. Keep holding the ignition button for a few seconds until the flame is established. Once the burners are lit, adjust the heat to your desired level using the control knobs. Always follow the safety guidelines provided by the manufacturer.
If you have a charcoal-powered barbecue, light the charcoal using a chimney starter or lighter fluid. With a chimney starter, place crumpled newspaper on the bottom, fill the top section with charcoal briquettes, and place it on the barbecue grate. Light the newspaper through the holes at the bottom of the chimney and let the charcoal burn for approximately 15-20 minutes until it is covered with white ash. Carefully pour the hot charcoal onto the grate of the barbecue and spread it evenly. Remember to wear heat-resistant gloves for safety.
Alternatively, if you prefer using lighter fluid, stack the charcoal in a pyramid shape on the barbecue grate. Ensure proper airflow by leaving gaps between the charcoal pieces. Next, evenly distribute lighter fluid over the charcoal. Wait for the lighter fluid to soak in for a minute before lighting the coals. Stand at a safe distance and use a long-reach lighter to ignite the coals. After the flames have subsided and the charcoal is ashed over, spread them evenly on the grate.
Always prioritize safety when lighting your barbecue, regardless of the type. Follow the manufacturer’s instructions, keep flammable materials away from the barbecue, and have a fire extinguisher or baking soda nearby for emergencies.

Preheat and start grilling
To preheat your barbecue, turn it on and allow it to heat up for a few minutes. This will ensure that the grill grates are hot enough to properly cook your food. Once the barbecue reaches the desired temperature, it’s time to start grilling.
Place the food you want to cook directly on the grill grates. Make sure to distribute it evenly to ensure even cooking. Use tongs or a spatula to flip the food when necessary, and avoid using your hands to prevent burns.
Continue cooking the food until it reaches your desired level of doneness. This could vary depending on what you are grilling, so it’s important to keep an eye on it.
Remember, the key to successful grilling is to monitor the heat and adjust it as needed. Enjoy your delicious grilled food!
Summary of Steps
In conclusion, by following the step-by-step instructions outlined in this blog post, you have learned how to assemble a portable barbecue. Now, you can take pride in knowing that you have the knowledge and skills to enjoy outdoor grilling wherever you go. Make sure to adhere to safety guidelines and properly clean your barbecue after each use to ensure its performance and longevity. With your newly assembled portable barbecue, you are well on your way to enjoying many delicious grilled meals.