How to store a mini grill?
This step-by-step guide will show you how to properly store your mini grill. Whether you’re a frequent camper or just enjoy grilling on your patio, it’s important to know the correct way to store your mini grill to extend its lifespan and prevent any damage. In this guide, we will walk you through the process and provide helpful tips to keep your mini grill in top condition.
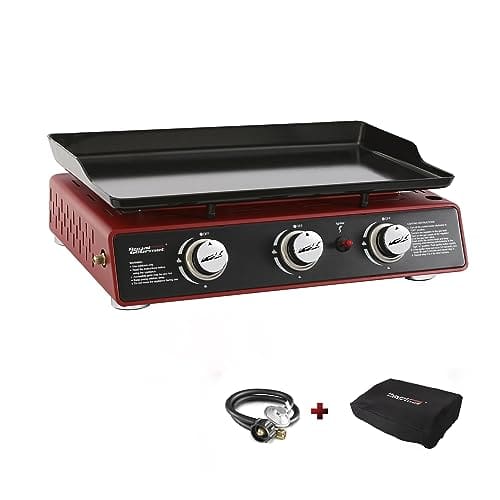
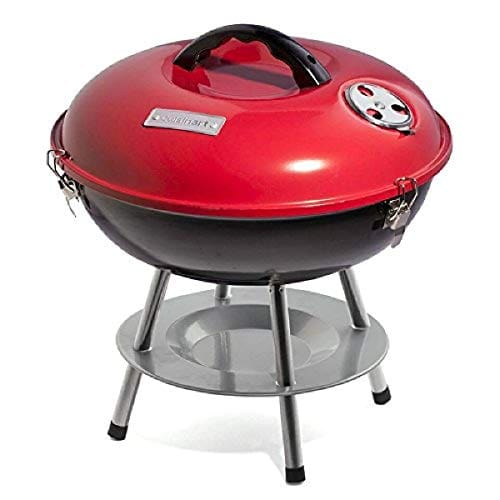
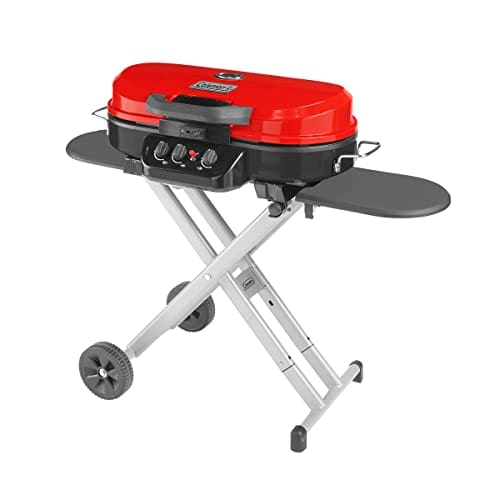
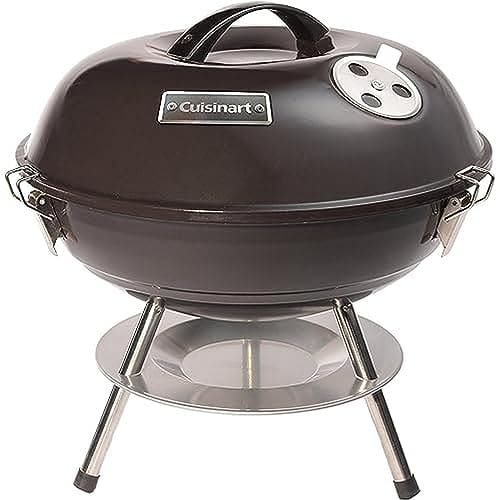
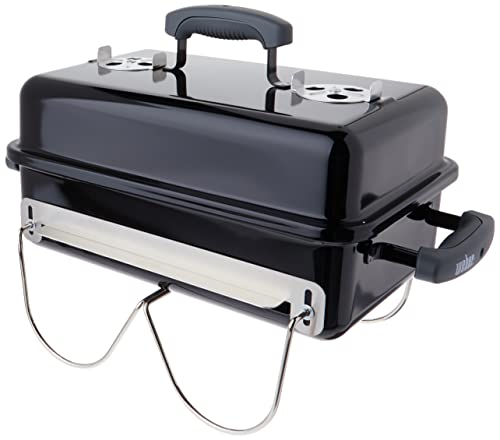
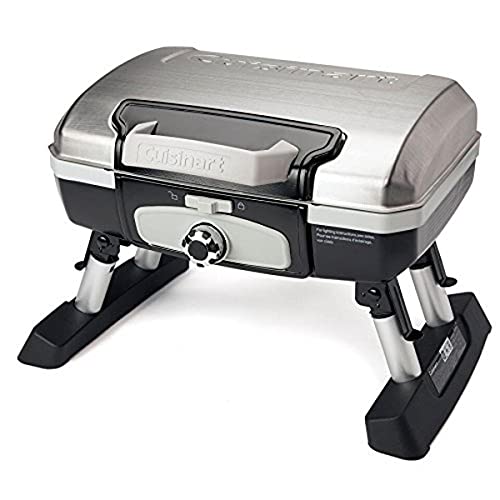
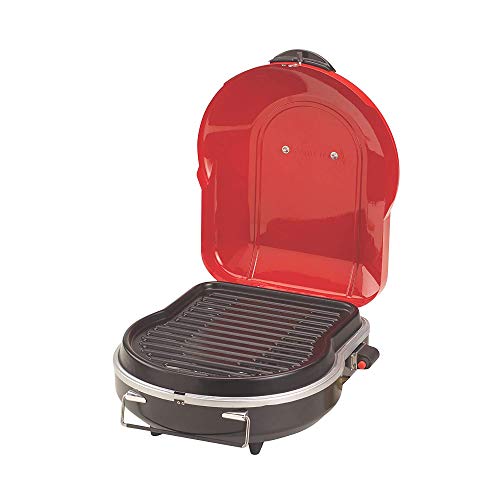
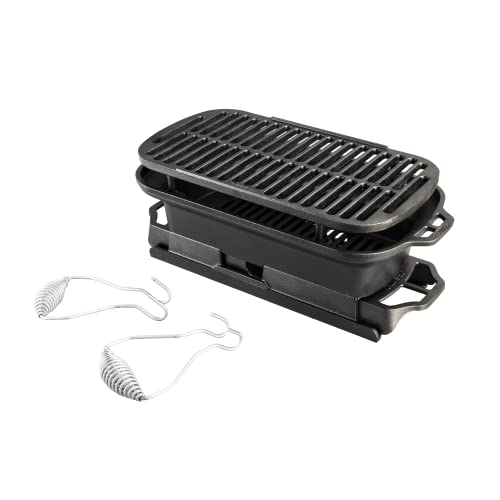
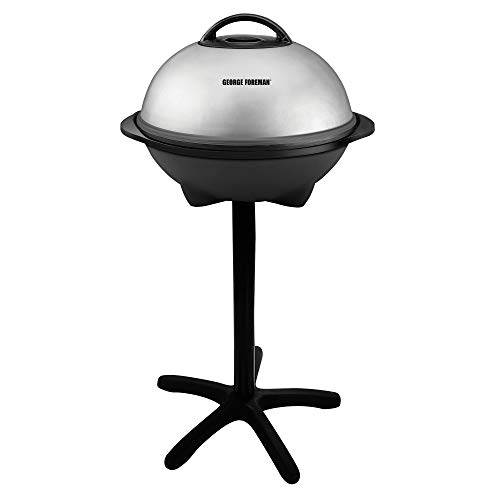
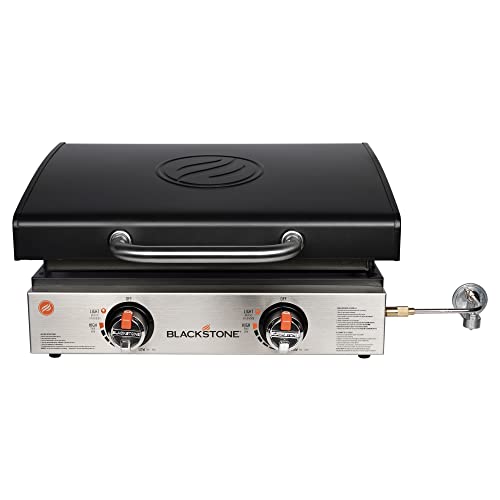
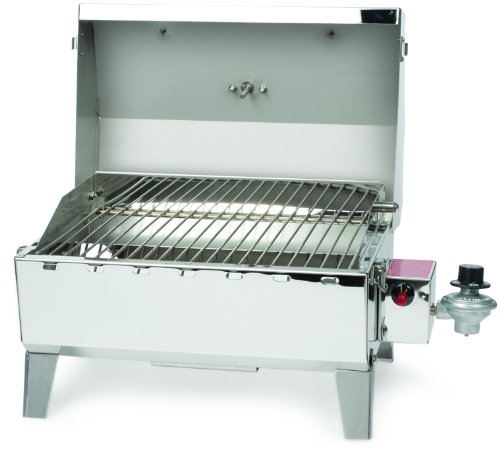
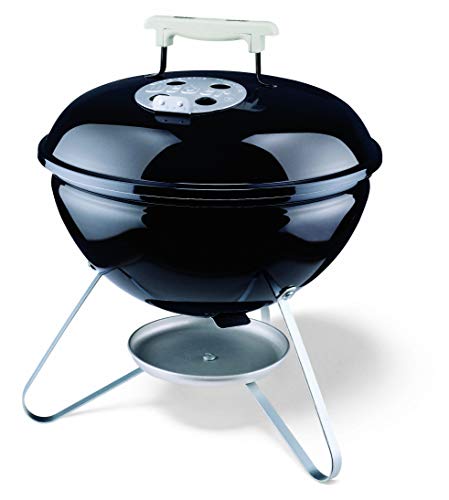
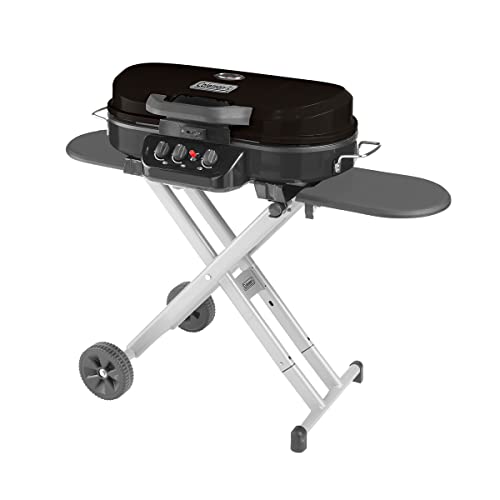
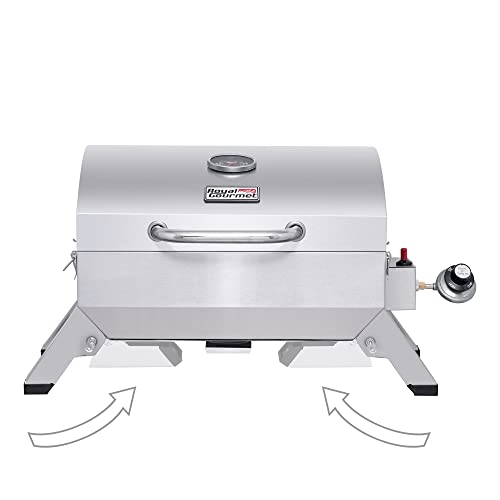
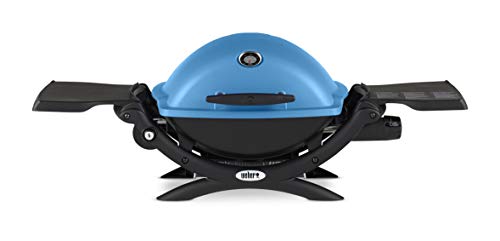
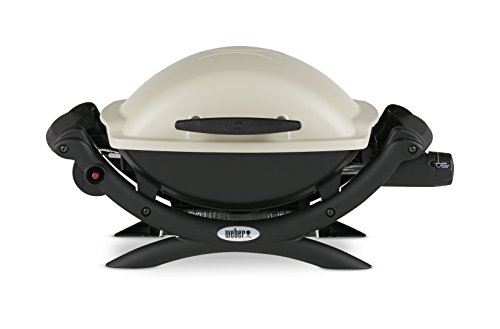
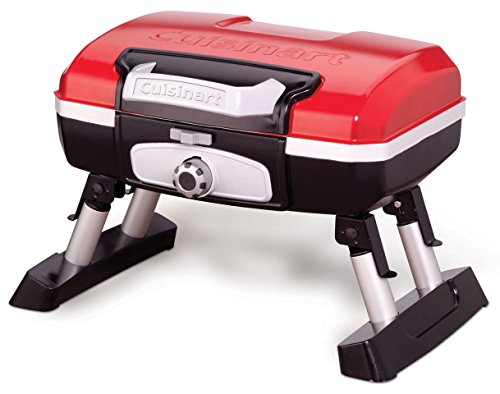
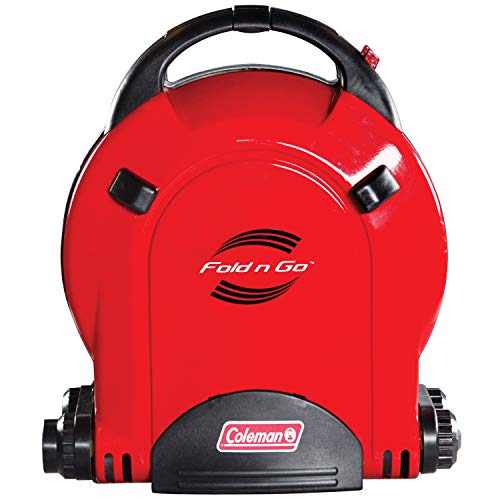
Top picks for grilling on-the-go


Step 1: Clean the grill
To effectively clean your mini grill before storing it, follow these simple steps to remove any residue or grease that may attract insects or cause unpleasant odors.
- Remove leftover food: Start by carefully removing any leftover food or debris from the grill. Use a grill brush or scraper to dislodge any stubborn particles, ensuring the grates are completely clear.
- Scrub the grates: Next, thoroughly scrub the grates to remove any built-up grime or grease. You can use a grill brush or a mixture of soapy water and a gentle scrubbing pad to clean the grates. Pay close attention to any areas where food residue may have accumulated.
- Wipe down the exterior: After cleaning the grates, wipe down the exterior of the grill with a mild cleaner or soapy water. Use a sponge or cloth to remove any dirt or stains from the surface. Don’t forget to clean the handles, knobs, and any other accessible parts of the grill.
Remember, it’s essential to clean your mini grill properly before storing it to ensure its longevity and prevent any undesired smells or pests. By following these steps and regularly maintaining your grill, you can enjoy many delicious meals without any worries.
Step 2: Disassemble if necessary
To disassemble your mini grill, start by removing any removable parts it may have such as grates, trays, or side tables. Carefully lift the grates out of the grill and set them aside. If there are any trays or side tables, detach them by loosening any screws or clips and lifting them off.
Next, remove any fuel sources such as propane tanks or charcoal. Make sure the fuel source is completely empty or extinguished before removing. If the grill has a propane tank, turn off the gas valve and disconnect the tank from the grill.
Once all the removable parts and fuel sources are removed, it’s time to store them properly. Clean the grates, trays, and side tables thoroughly to remove any food residue or dirt. This will prevent any buildup or potential damage during storage. Consider using a grill brush or warm soapy water for a thorough cleaning.
Lastly, store the disassembled components in a safe and secure place. It’s a good idea to wrap them in a protective covering or store them in a designated bag or box. This will prevent any potential damage during transportation and make it easier to locate the parts when you need to reassemble your mini grill.
By following these steps to disassemble your mini grill, you can ensure its safe storage and minimize the risk of damage during transportation.

Step 3: Empty the fuel source
To empty the fuel source of your mini grill, follow these steps:
- If your mini grill uses propane, disconnect the tank from the grill.
- Store the propane tank separately in a well-ventilated area away from any potential heat sources or flames.
- If your mini grill uses charcoal, dispose of any remaining charcoal in a safe and proper manner. Make sure the charcoal is completely cooled down before handling it.
- Clean out the ash catcher of your mini grill by removing any ash or debris. Use a brush or vacuum to ensure it is completely clean.
Remember to always prioritize safety when working with fuel sources. Properly disposing of charcoal and storing propane tanks separately will help prevent any accidents or fire hazards.
Step 4: Protect vulnerable parts
To protect the vulnerable parts of your mini grill, follow these steps:
- Apply a layer of oil or rust-resistant spray: Before using your grill, make sure to cover any exposed metal surfaces with a thin layer of oil or a specialized rust-resistant spray. This will create a protective barrier against moisture and help prevent rusting.
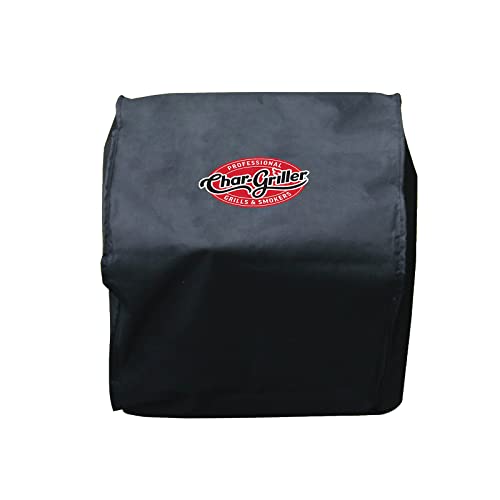
- Use a grill cover or tarp: When your grill is not in use, it’s important to shield it from dust and moisture. Invest in a grill cover that is specifically designed for your mini grill, or use a tarp to cover the entire grill. Ensure that the cover completely covers the grill and securely fastens to keep out unwanted elements.
By taking these steps, you can ensure the longevity and durability of your mini grill. Protecting the vulnerable parts not only prevents rust and damage but also helps maintain the overall performance of your grill.


Step 5: Find a suitable storage location
To find a suitable storage location for your mini grill, follow these guidelines:
- Choose a location that is dry: Moisture can cause rust and damage to your grill. Look for a spot that is protected from rain and any other water sources.
- Ensure it is well-ventilated: Proper ventilation helps to prevent the build-up of condensation and reduces the risk of mold or mildew. Avoid storing your grill in a humid or enclosed area like a basement.
- Protect from extreme temperatures: Extreme heat or cold can harm the components of your grill. Avoid storing it in direct sunlight or near any heat sources such as furnaces or heaters.
- Preferably store indoors: If possible, store your mini grill indoors, such as in a garage or shed. This provides an added layer of protection from the elements and helps to keep it clean and secure.
- Cover with a waterproof grill cover: If you need to store your grill outside, it is important to protect it from moisture. Use a waterproof grill cover that fits your mini grill properly to shield it from rain, snow, and other outdoor elements.
By following these steps, you can ensure that your mini grill is stored in a suitable location, keeping it well-maintained and ready for your next outdoor cooking adventure.
Step 6: Arrange storage space
- Ensure adequate space: Make sure you have enough space to store your mini grill safely. Measure the dimensions of the grill and find a suitable area where it can be stored without crowding other items.
- Clear out clutter: Prior to storing the mini grill, clear out any clutter in the area to create a designated space for it. Remove any unnecessary items or debris that may obstruct access or cause damage to the grill.
- Organize smaller parts: Utilize storage bins or hooks to organize smaller parts of the mini grill such as cooking grates, utensils, or propane tanks. This will help ensure that all the necessary components are easily accessible and prevent them from getting lost or damaged.
- Elevate the grill: To prevent moisture damage, it is important to keep the mini grill off the ground. Place a sturdy platform or use a specialized grill stand to elevate the grill and create a barrier between the grill and any damp or wet surfaces.
By following these steps, you can arrange proper storage space for your mini grill, ensuring its safety and longevity.
Ensuring Longevity and Proper Storage
In conclusion, by following these steps, you can properly store your mini grill, ensuring its longevity and protecting it from damage. Remember to clean it thoroughly, disassemble if necessary, empty the fuel source, protect vulnerable parts, find a suitable storage location, and arrange the storage space. By taking these precautions, you can enjoy your mini grill for years to come.
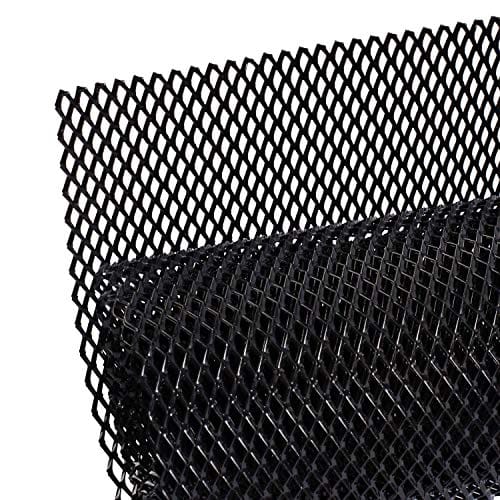
Recommended Tools & Materials

Maintenance and Storage
How to Make a Super Affordable and Convenient Disposable BBQ Grill at Home!
Instructions for using the Mini Grill
- Prepare the grill: Clean the grill grates using a wire brush to remove any debris from previous use. Make sure the propane tank is securely attached, and check for any leaks by applying soapy water to the connections and looking for bubbles
- Ignite the grill: Open the lid of the grill and turn on the gas by slowly opening the valve on the propane tank. Then, turn the burner control knob to the “start” or “ignite” position while pressing the ignition button to light the grill
- Preheat the grill: Close the lid and let the grill preheat for around 10-15 minutes. This will allow the grill to reach the desired temperature for cooking your food evenly
- Place the food on the grill: When the grill is preheated, open the lid and place your food on the grate. Ensure that there is enough space between the items for proper cooking
- Monitor and flip the food: Keep an eye on your food as it cooks and use tongs or a spatula to flip it when needed. It’s important to avoid opening the lid unnecessarily as it can cause the grill to lose heat
- Remember to always follow the manufacturer’s instructions and refer to the user manual for specific details related to your mini grill model. Enjoy your grilling experience!