How to set up a hiking grill?
Welcome to the step-by-step guide on how to set up a hiking grill! This guide is designed to help you understand the process of setting up a portable grill specifically for hiking and outdoor adventures. Whether you’re a seasoned hiker or someone new to outdoor cooking, this guide will provide you with all the necessary information to set up your own hiking grill and enjoy delicious meals on the go.
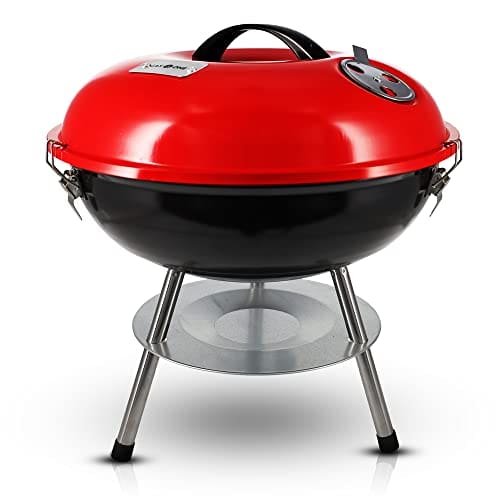
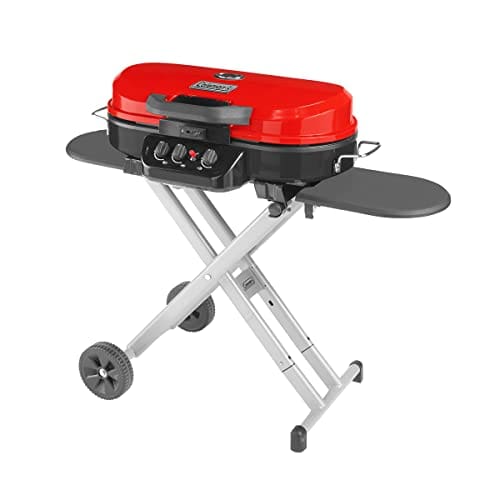
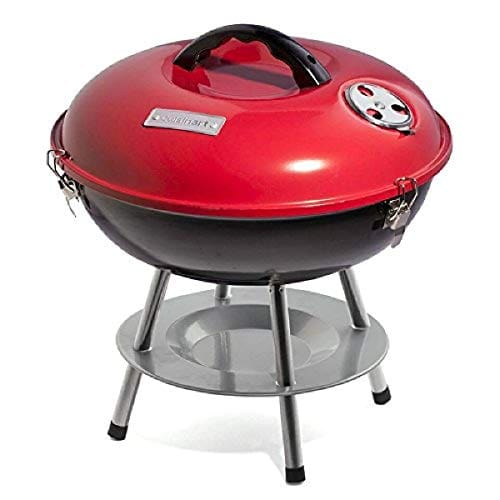
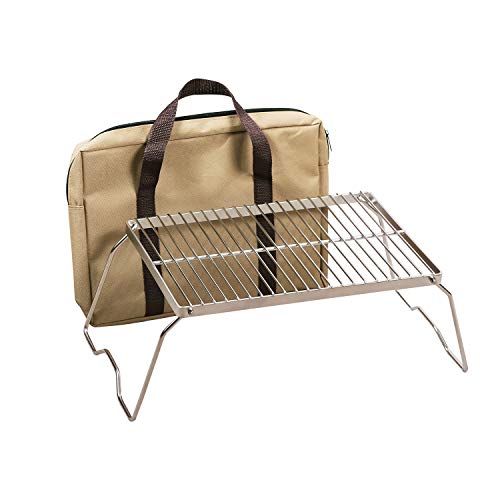
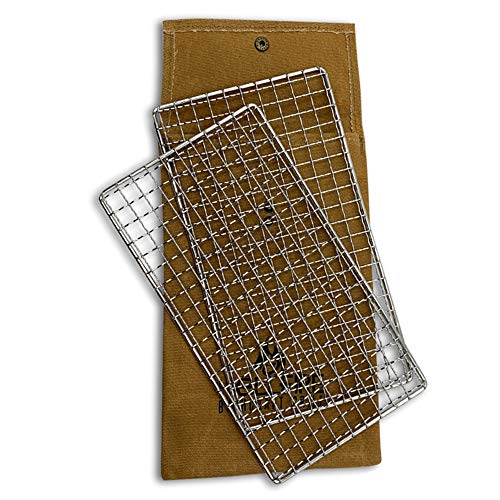
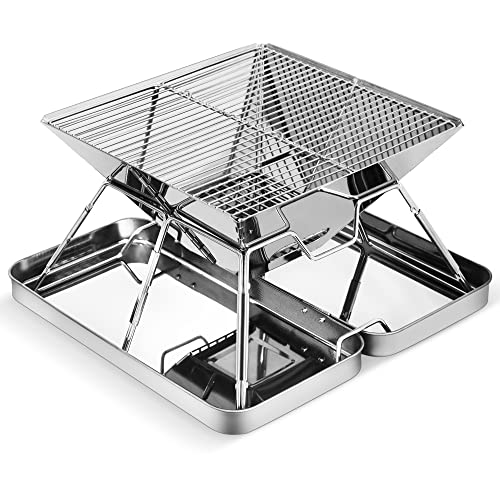
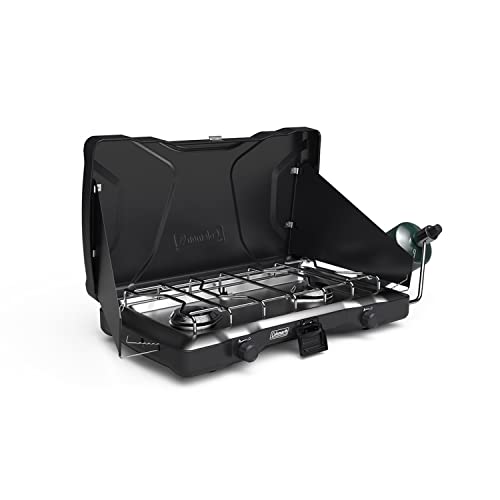
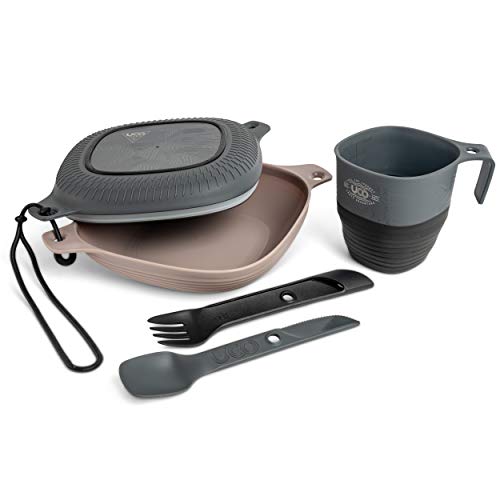
Top-rated grills for outdoor enthusiasts
Choose a suitable hiking grill
When it comes to choosing a suitable hiking grill, it’s important to consider factors such as size, weight, fuel type, durability, and ease of assembly. Here are some steps to follow to help you make a well-informed decision:
- Determine your needs – Before starting your search, think about the specific requirements you have for a hiking grill. Are you planning to cook for a large group or just for yourself? Do you prefer a compact grill that fits easily in your backpack, or are you willing to carry a slightly larger one? Identifying your needs will narrow down your options.
- Consider size and weight – Hiking grills come in various sizes, so choose one that suits your capacity requirements and the amount of weight you’re willing to carry. Compact grills, like the Primus Tupike or the Weber Go-Anywhere, are lightweight options that pack easily and are ideal for solo hikers or small groups.
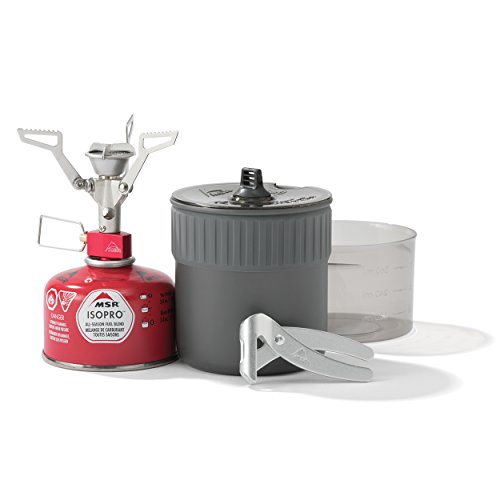
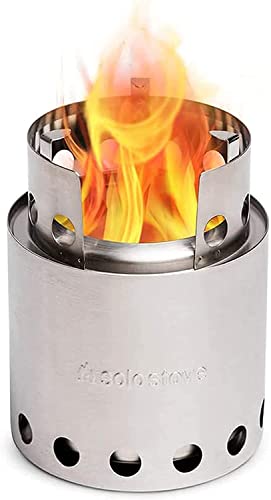
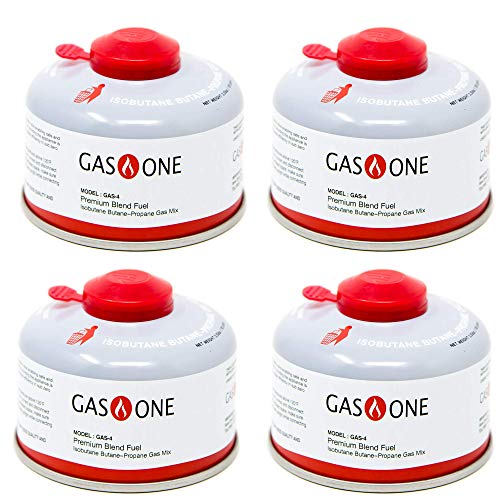
- Evaluate fuel type – Hiking grills typically use either propane, charcoal, or wood as fuel. Propane grills, such as the Jetboil Genesis Basecamp System, provide quick and convenient cooking, but you need to carry extra propane canisters. Charcoal grills, like the BioLite FirePit, offer a traditional grilling experience but require more time for setup and cleaning. Wood-burning grills, such as the Solo Stove Lite, use natural materials for fuel and are lightweight options.
- Check durability – Since hiking grills are subjected to outdoor elements, it’s important to choose one that is built to last. Look for grills made from sturdy materials such as stainless steel or aluminum that can withstand rough handling and exposure to heat.
- Consider ease of assembly – When you’re out hiking, you want a grill that is easy to set up and take down. Look for grills with simple assembly processes and features like foldable legs, detachable parts, or a straightforward design. The Etekcity Ultralight Portable Camping Stove is an example of a grill that is simple to set up and pack away.
By considering these factors and conducting research on different hiking grills, you can confidently select a grill that suits your needs and preferences. Remember to read reviews, compare prices, and choose a reputable brand to ensure a satisfying hiking experience. Happy grilling!
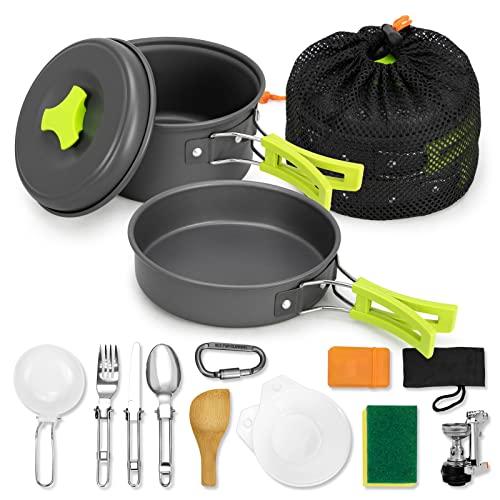

Gather necessary equipment
To set up the hiking grill, you need to gather all the necessary equipment. First and foremost, make sure you have the grill itself. Choose a lightweight and compact grill specifically designed for hiking, which can be easily carried in your backpack.
Next, you will need fuel to cook your food. Depending on your preference and the grill type, bring either charcoal or a propane canister. Charcoal is suitable for traditional grilling while a propane grill allows for quick and efficient cooking.
Don’t forget to pack matches or a lighter to ignite the grill. Without these, it will be impossible to get the fire started. Make sure they are reliable and kept in a waterproof container to prevent them from getting wet.
In addition to the essentials, bring along cooking utensils such as tongs, spatula, and a grill brush. These utensils will help you handle and cook your food safely and efficiently. If you plan on cooking items like vegetables or delicate foods, consider bringing a grilling basket or foil.
Lastly, don’t overlook any additional accessories that might enhance your grilling experience. This could include items like grill gloves for protection, a small folding table for food preparation, and a thermometer to ensure your food is cooked to perfection.
By collecting all the necessary equipment – grill, fuel, matches or lighter, cooking utensils, and additional accessories – you will be fully prepared to set up your hiking grill and enjoy a delicious outdoor meal.

Find a suitable location
When searching for a suitable location to set up your hiking grill, it is crucial to prioritize safety and appropriateness. Start by finding a flat surface that is away from any flammable materials such as dry grass, bushes, or overhanging trees. This is essential for preventing accidental fires and ensuring a safe grilling environment.
Additionally, make sure to check if there are any fire regulations or restrictions in the area where you plan to set up your grill. Some parks or camping sites may have specific rules regarding open flames, so it is important to be aware of these guidelines and follow them accordingly. This will help you avoid any potential fines or penalties and also contribute to the overall safety of the area.
To summarize, select a flat surface away from flammable materials and ensure there are no fire regulations or restrictions. By following these guidelines, you can find a suitable location for your hiking grill and enjoy a safe and enjoyable grilling experience.


Assemble the grill
To assemble the hiking grill, start by carefully reading and following the manufacturer’s instructions. Each grill may have specific steps and parts, so it’s important to understand the guidelines provided.
First, gather all the necessary parts and make sure you have everything before you begin. This will prevent delays or confusion during the assembly process. Check that you have the grill body, grill grates, legs, hardware, and any additional accessories.
Next, spread out all the parts and identify the corresponding pieces based on the manufacturer’s instructions. Connect the grill legs to the body by aligning the designated attachment points. Use the provided screws or connectors to secure them tightly, ensuring stability.
Once the legs are securely attached, place the grill grates on top of the grill body. The grates should fit snugly into the designated slots, providing a stable surface for cooking. Double-check that everything is aligned properly and tightened as instructed.
Throughout the assembly process, be diligent in following the instructions and paying attention to details. If the grill requires any additional steps, such as attaching a handle or adjusting the height, make sure to complete those as well.
By following these instructions and being mindful of the manufacturer’s guidelines, you can easily assemble your hiking grill with confidence.

Prepare the grill and fuel
To prepare the grill and fuel, follow these simple steps. If you are using charcoal, start by lighting it according to the instructions provided. Use a chimney starter or lighter fluid to ignite the coals. Let the charcoal burn until the coals are evenly hot, usually for about 20-30 minutes. Spread them out in a single layer across the bottom of the grill.
If you have a propane grill, ensure that the fuel tank is connected properly. Check that the connection between the tank and the grill is secure, and make sure the valve on the tank is closed before you start. Once the tank is securely connected, open the fuel valve by turning it counterclockwise, but do so slowly to avoid any sudden gas bursts.
By following these instructions, you will be ready to move on to the next step of your grilling adventure. Happy grilling!

Start grilling
To start grilling, follow these steps:
- Place your food on the grill: Arrange your desired food items, such as meat, vegetables, or seafood, on the preheated grill grates. Ensure there is enough space between each item for even cooking.
- Cook to desired doneness: Use a meat thermometer or your preferred method to determine when your food is done. Different foods have different recommended internal temperatures. For example, a medium-rare steak should reach an internal temperature of 145°F (63°C). Refer to a cooking guide for specific temperature recommendations.
- Monitor the cooking process closely: Stay attentive to prevent burning or undercooking. Adjust the heat as necessary and rotate or flip the food to ensure even cooking. Keep an eye on the grill to maintain a consistent temperature.
- Use appropriate utensils: Avoid using metal utensils that can scratch the grates. Instead, opt for long-handled tongs or spatulas made of heat-resistant materials like stainless steel or silicone. This will help you handle the food easily and minimize the risk of burns.
- Handle the grill with care: Always use oven mitts or heat-resistant gloves when operating the grill. Avoid touching the hot grates directly to prevent burns. If you need to move the grill, make sure it has cooled down sufficiently or use the designated handles and wheels if available.
By following these instructions, you can ensure a successful grilling experience while safely cooking your food to perfection. Enjoy your delicious grilled meal!
Key Takeaways
In conclusion, setting up a hiking grill is a straightforward process that requires attention to safety, proper assembly, and following the manufacturer’s instructions. By taking these precautions, you can ensure a safe and enjoyable outdoor grilling experience. Remember to choose a suitable location, assemble the grill correctly, and always follow the manufacturer’s guidelines. Now, you’re ready to hit the trails and enjoy delicious grilled food amidst nature. Happy hiking and happy grilling!