How to cook on an easy-to-carry grill?
The quick summary for the step-by-step guide on how to cook on an easy-to-carry grill is as follows:
- Choose the right grill: Select an easy-to-carry grill that suits your needs and is convenient to transport.
- Prepare your ingredients: Gather and prepare the ingredients you want to cook, ensuring they are cut, seasoned, and ready to grill.
- Set up the grill: Follow the manufacturer’s instructions to assemble and set up the grill properly.
- Preheat the grill: Allow the grill to preheat for a few minutes, ensuring it reaches the desired cooking temperature.
- Oil the grill grates: Brush or spray cooking oil onto the grill grates to prevent food from sticking.
- Place the food on the grill: Carefully place your prepared ingredients onto the hot grill grates, ensuring they are evenly spaced.
- Monitor and flip the food: Keep a close eye on the food as it cooks, flipping it as needed to ensure even cooking and prevent burning.
- Cook to the desired level of doneness: Use a meat thermometer or visual cues to determine when the food is properly cooked, ensuring it is safe to eat.
- Remove from the grill: Once the food is cooked to your liking, carefully remove it from the grill using tongs or spatulas.
- Let it rest and serve: Allow the food to rest for a few minutes before serving to retain its juices and flavors.
Portable Grills for On-the-Go Grilling


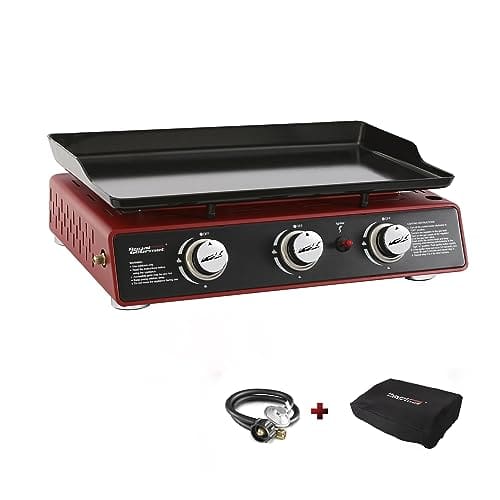
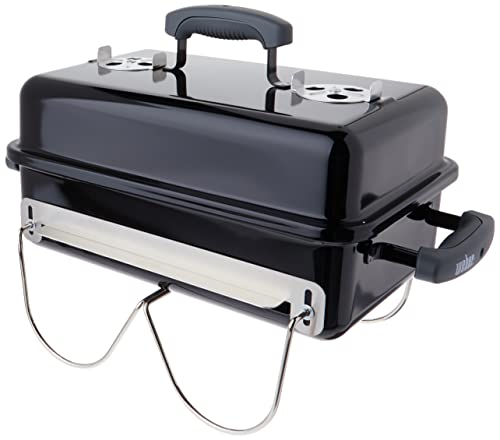
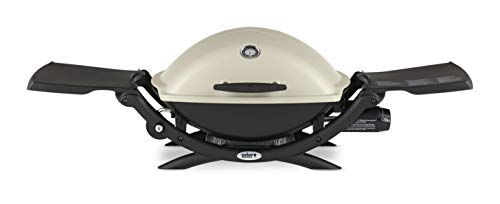
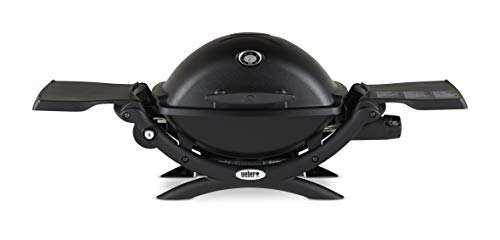
Choose a portable grill
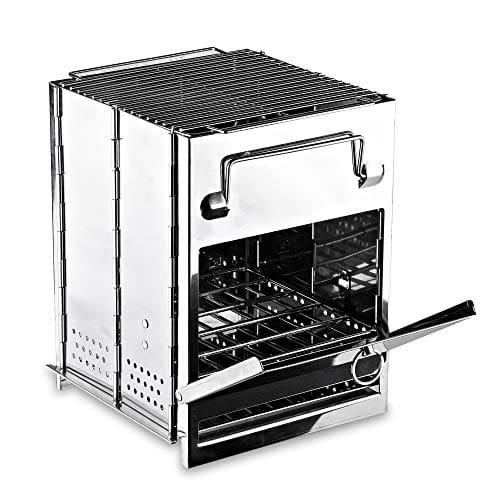
When it comes to choosing a portable grill, there are a few things you need to consider before you start grilling. First and foremost, you want a grill that is lightweight and easy to carry around. Look for grills made from materials like aluminum or stainless steel that are known for their lightweight properties. This will make it convenient for you to take it along on camping trips, picnics, or any outdoor activities.
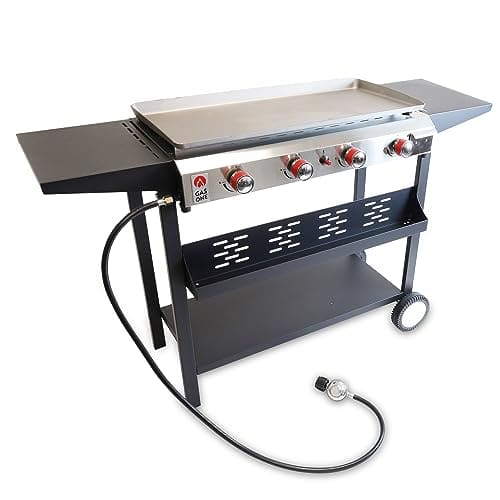
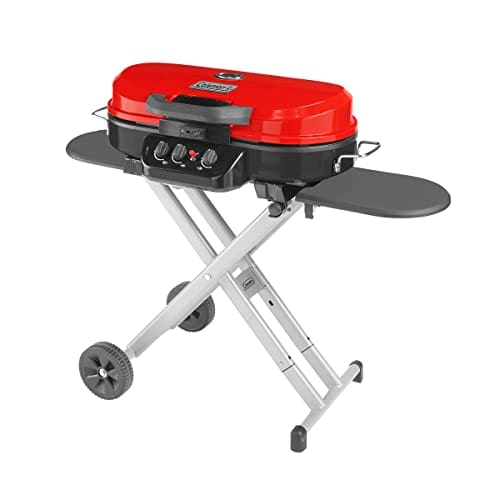
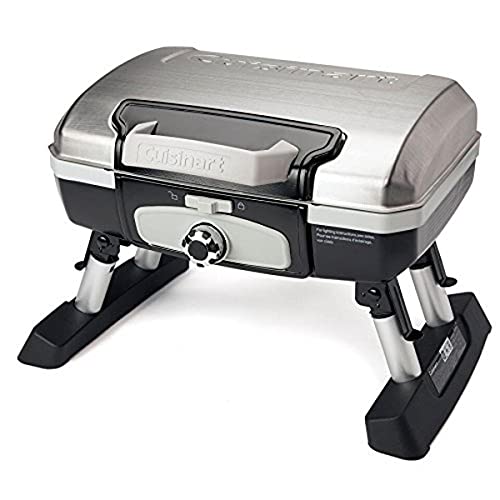
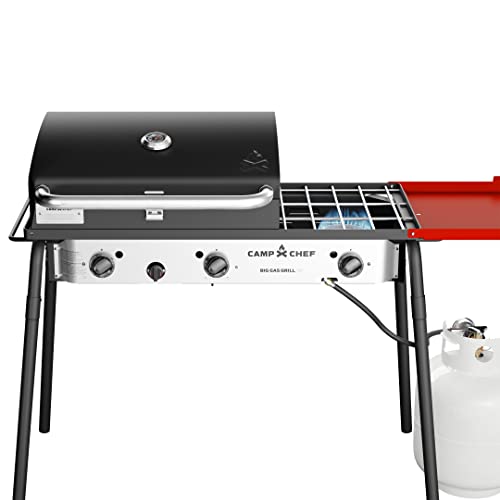
Next, consider the compactness of the grill. You want something that doesn’t take up too much space in your car or storage area. Look for grills that are foldable or have detachable legs for easy storage and transportation.
Another important aspect is the ease of assembly. Nobody wants to spend a long time setting up a grill when they are eager to start cooking. Opt for grills that have a simple and quick assembly process, preferably without the need for any tools.
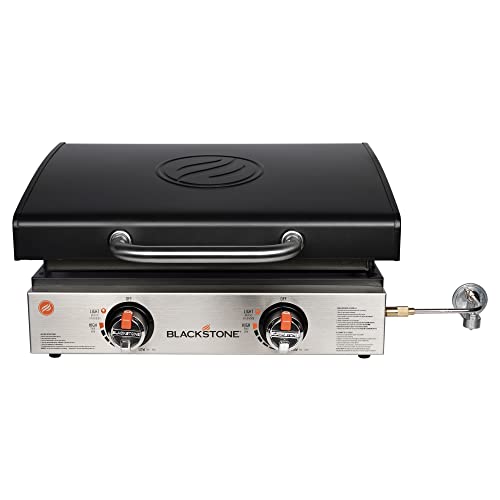
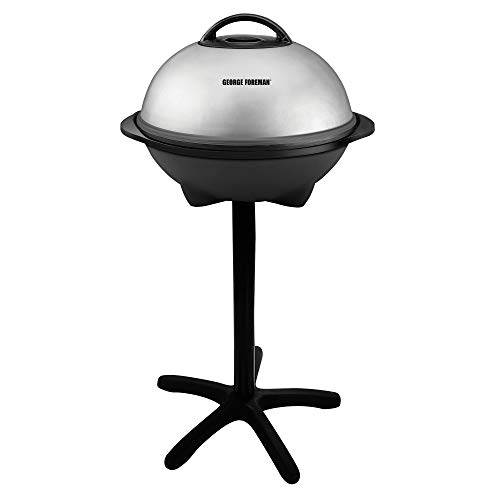
When it comes to the actual grilling performance, consider the fuel type that suits your needs. Portable grills typically use charcoal, propane, or electric as fuel sources. Each has its own pros and cons, so consider factors like availability, cooking time, and flavor preferences.
Furthermore, pay attention to the cooking surface area. If you plan on grilling for a larger group, look for grills that offer a roomy cooking surface to accommodate more food. However, if you mainly grill for yourself or a small group, a smaller cooking area might suffice.
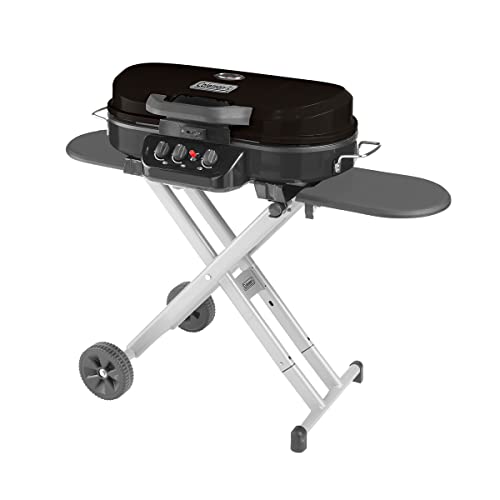
Lastly, you might want to consider additional features like temperature control. Some portable grills come with adjustable vents or built-in thermometers, allowing you to fine-tune the cooking temperature for better results.
By carefully considering these factors – lightweight, compactness, easy assembly, fuel type, cooking surface area, and additional features – you’ll be able to choose a portable grill that perfectly suits your needs and ensures a delightful grilling experience wherever you go. Happy grilling!
Prepare the grill
Before you start cooking on your grill, it is essential to properly prepare it. Follow these simple steps to ensure a successful grilling experience:
- Assemble and set up the grill: Begin by referring to the manufacturer’s instructions to correctly assemble and set up your grill. Make sure you have all the necessary parts and tools before you begin. Follow the step-by-step instructions provided to ensure proper assembly.
- Clean the cooking grates: Before using the grill, it is crucial to clean the cooking grates thoroughly. Remove any debris, grease, or residue from previous cooking sessions. Use a grill brush to scrape off any stubborn grime. This will not only prevent any unwanted flavors from transferring to your food but also ensure even cooking.For example: Start by heating the grill to a high temperature, then use a wire brush to scrape away any debris from the grates. Once scraped, use a damp cloth or paper towel to wipe away any leftover residue. Repeat this process until the cooking grates are clean and ready for use.
- Preheat the grill: Depending on the type of food you’ll be cooking, it’s important to preheat your grill to the desired temperature. Preheating ensures that the food gets cooked evenly and reduces the risk of undercooked or overcooked dishes. Refer to your grill’s manual for the recommended preheating time and temperature.For example: If you’re planning to cook steaks, preheat your grill to around 400°F (204°C) and let it heat for about 10-15 minutes. This allows for a searing hot surface that will create those delicious grill marks and lock in the juices of the meat.
By following these steps, you’ll have a properly prepared grill that is ready to provide you with delightful grilled dishes. Proper preparation ensures better tasting food and a safer grilling experience. Enjoy your cooking!


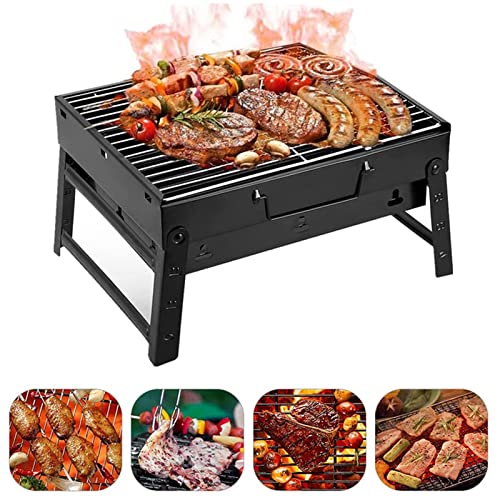
Gather your ingredients
- Prepare your meat: Start by selecting the meat you want to grill. Whether it’s beef, chicken, pork, or seafood, make sure it’s fresh and of good quality. Trim any excess fat or unwanted parts. Cut the meat into appropriate portions, such as steaks, fillets, or skewer-sized cubes, depending on your recipe.
- Prepare your vegetables: Wash and pat dry any vegetables you plan to include in your meal. Cut them into slices, chunks, or julienne strips, depending on your preference. Popular options include bell peppers, zucchini, mushrooms, onions, and tomatoes, but feel free to choose your favorites!
- Season your ingredients: This step is where you get to add your personal touch and enhance the flavor of your grilled food. Season your meat and vegetables with your desired spices, herbs, and marinades. Common options include salt, pepper, garlic powder, paprika, cumin, oregano, soy sauce, olive oil, lemon juice, or even a homemade barbecue sauce. Feel free to experiment and adjust according to your taste.
Remember, gathering and preparing your ingredients is an essential step to ensure a delicious meal. By following these instructions, you’ll be ready to move on to the next step: grilling your flavorful creations!

Light the grill
To properly light your grill, follow these simple steps:
- Choose the appropriate method: Depending on the type of grill you have, there are different methods for lighting it. Gas grills usually have burners that need to be ignited, while charcoal grills require lighting the charcoal. Refer to your grill’s manual or follow the manufacturer’s instructions for the specific lighting method.
- Follow safety guidelines: Always put safety first when lighting your grill. Make sure you are in a well-ventilated area, away from flammable materials. If using a gas grill, check for any gas leaks before lighting. When lighting charcoal, use a chimney starter or lighter fluid according to the manufacturer’s recommendations.
- Ignite the burners or charcoal: For gas grills, turn on the gas supply, then ignite the burners using the built-in igniter or a long-handled lighter. Check if the burners have lit up and adjust the flame as needed. If using charcoal, light the charcoal with a flame source such as a match or a lighter. Avoid using excessive lighter fluid or other flammable liquids.
- Allow the grill to preheat: After the burners or charcoal have been ignited, close the grill’s lid and allow it to preheat. This will help the grill reach the desired cooking temperature and ensure even heat distribution. Give it around 10-15 minutes to heat up, depending on your grill and the cooking temperature you want to achieve.
- Place the food on the grates: Once the grill has reached the desired cooking temperature, it’s time to start grilling! Carefully place your food on the preheated grates, using tongs or a spatula. Close the lid and cook your food according to your recipe or desired cooking time.
Remember to always exercise caution when handling fire or hot surfaces. Follow these steps and the manufacturer’s guidelines for your specific grill to ensure a successful grilling experience. Enjoy your delicious meals cooked on the grill!


Cook your food
- Place the prepared ingredients onto the grill grates: Carefully arrange your prepared food items, such as meat, vegetables, or kebabs, onto the grill grates. Ensure that there is enough space between the ingredients for even cooking.
- Cook each side of the food for the recommended amount of time: Monitor the cooking time for each side of your food. Flip the ingredients if necessary to ensure they cook evenly. Following the recommended cooking time will help achieve the desired level of doneness.
- Use a meat thermometer to ensure safe internal temperature: Insert a meat thermometer into the thickest part of the meat to check its internal temperature. Refer to a cooking temperature chart to determine the safe internal temperature for each type of meat to avoid undercooking or overcooking.
- Pay attention to specific cooking instructions for different ingredients: Some ingredients may require specific cooking techniques or temperatures. For example, thick vegetables like potatoes or root vegetables may need to be cooked at a lower heat for a longer time, while delicate items like fish or seafood may require quicker cooking at higher heat. Follow any specific cooking instructions mentioned in your recipe or cooking guidelines.
Remember to always exercise caution when handling hot grills and use appropriate safety measures. Enjoy your deliciously cooked food!
Serve and enjoy
Once your food is cooked to perfection, carefully remove it from the grill using appropriate grilling tools. Use tongs or a spatula to carefully transfer the food from the hot grill grates to a clean plate or platter. Be cautious not to touch the hot grates or handle the food with your bare hands to avoid burns.
After removing the food from the grill, allow it to rest for a few minutes before serving. This resting period allows the juices in the meat to redistribute and settle, ensuring a moist and flavorful final result. It also gives you an opportunity to prepare any desired garnishes, such as chopping fresh herbs or preparing a delicious sauce.
Once the resting time is over, you can garnish your grilled meal with herbs or sauces, as per your taste and preference. Sprinkle fresh herbs like parsley, cilantro, or basil over the dish to add a burst of freshness and enhance the flavors. You can also drizzle a homemade sauce, such as barbecue sauce or chimichurri, to further enhance the taste and presentation.
Finally, it’s time to enjoy your delicious grilled meal! Serve it hot and savor each bite. Whether it’s a perfectly grilled steak, juicy chicken, or flavorful vegetables, the combination of charred goodness and smoky flavors will surely please your palate. Sit back, relax, and relish in the satisfaction of a well-cooked and enjoyable meal.
Final Thoughts
In conclusion, cooking on an easy-to-carry grill offers numerous advantages for outdoor cooking enthusiasts. By utilizing the tips and steps outlined in this blog post, you can easily achieve a successful grilling experience. The convenience and portability of these grills make them an excellent choice for camping trips, picnics, and other outdoor activities. So, go ahead and explore the world of easy-to-carry grills, and get ready to enjoy delicious meals wherever you go. Happy grilling!