How to safely transport a hot travel grill?
This step-by-step guide will provide you with the necessary instructions on how to safely transport a hot travel grill. If you enjoy outdoor cooking and frequently travel with your grill, it is important to know the proper techniques for transportation to ensure a safe and hassle-free experience. By following these steps, you can ensure that your grill stays secure during transit and minimize the risk of accidents or damage.
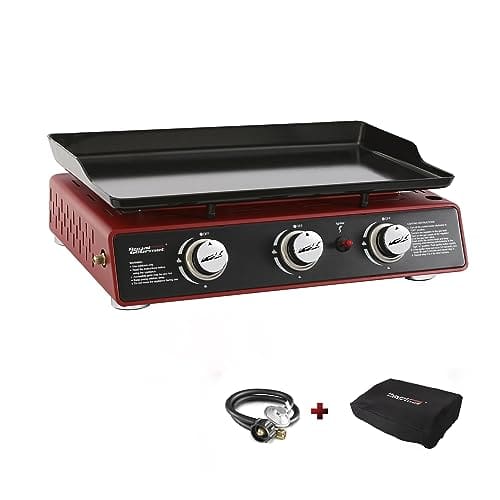
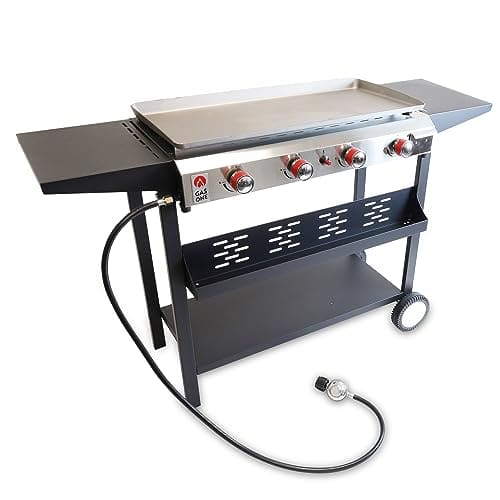
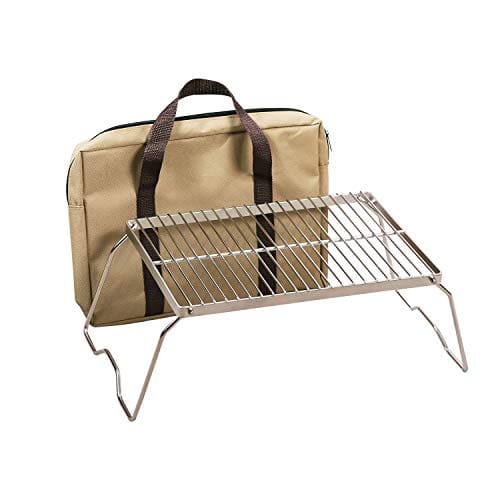
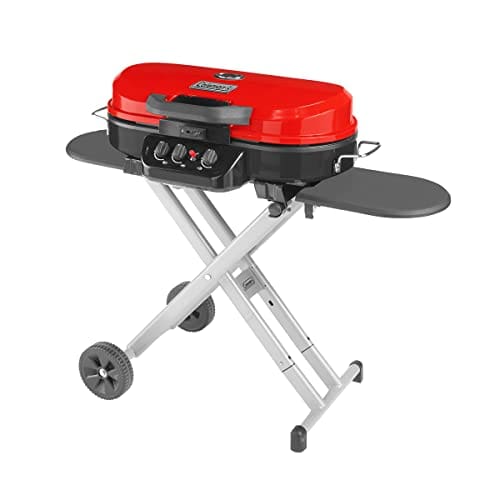
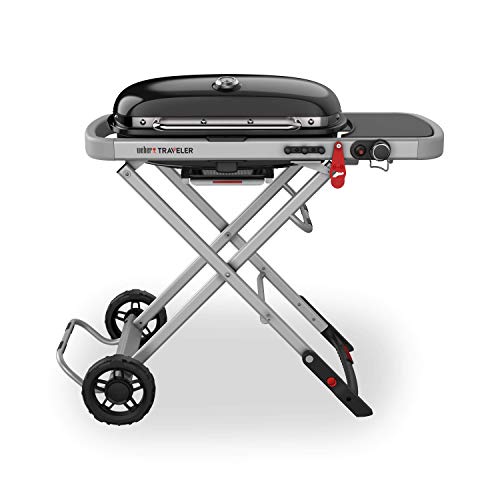
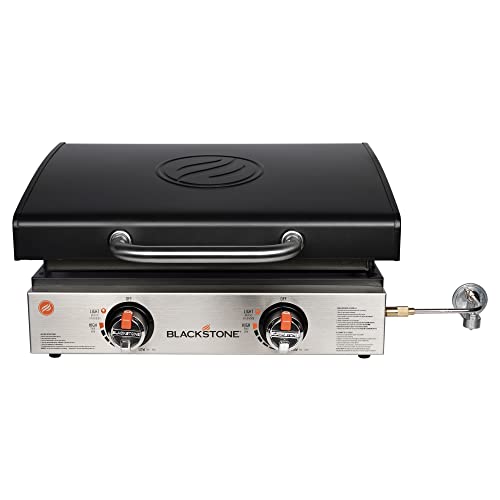
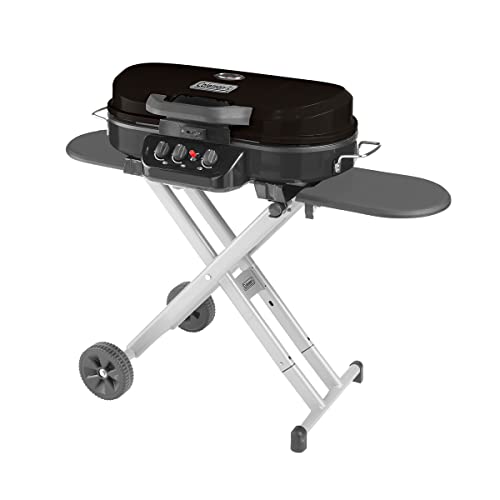
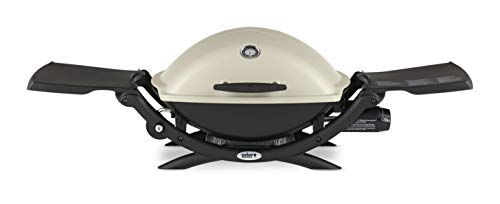
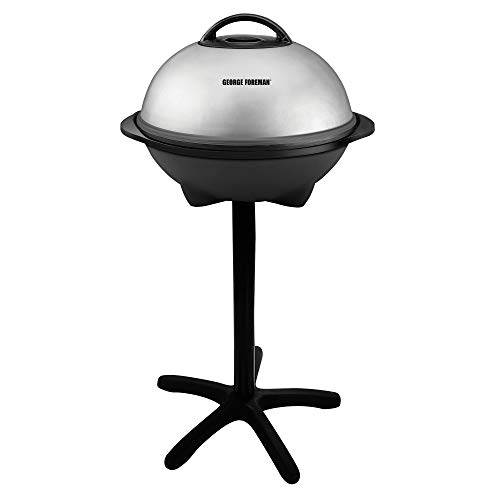
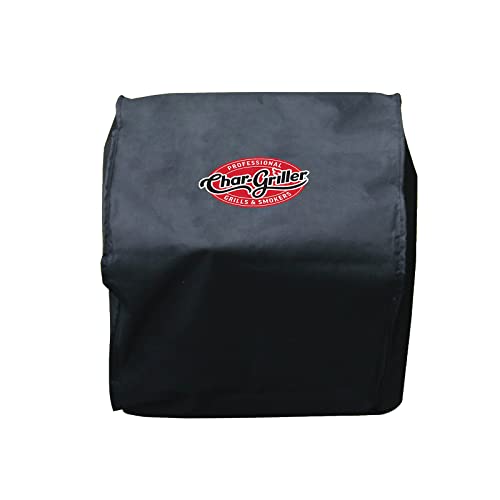
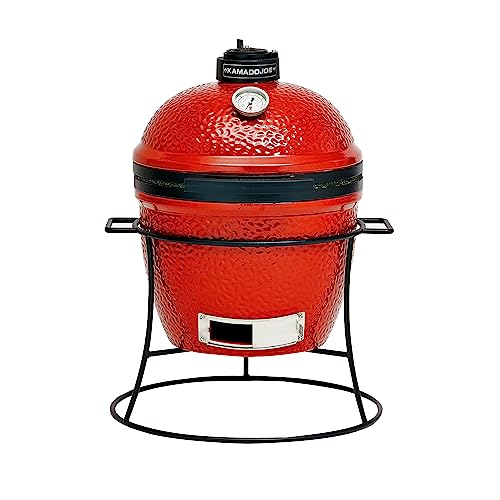
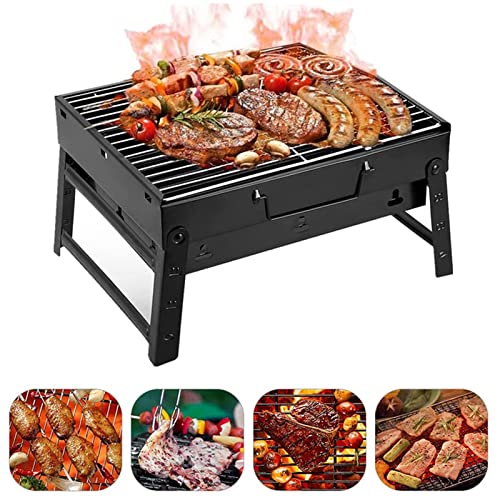
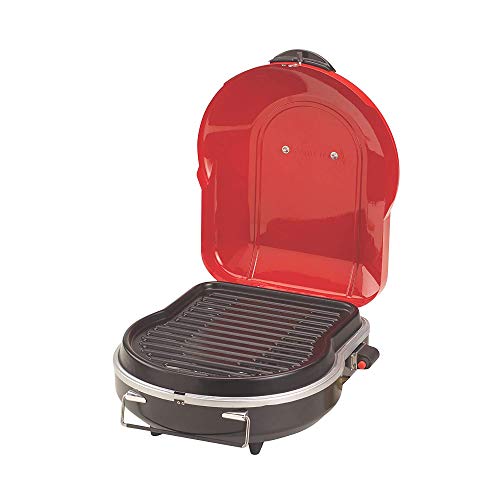
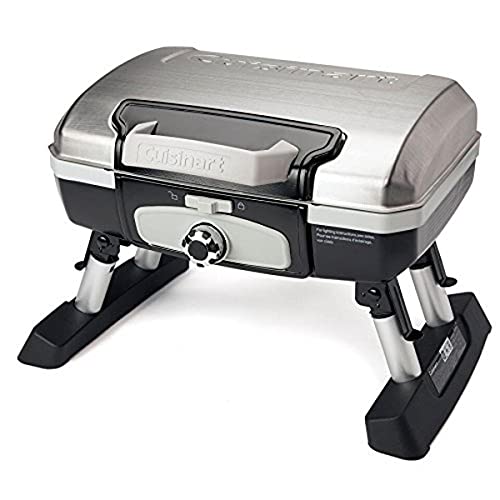
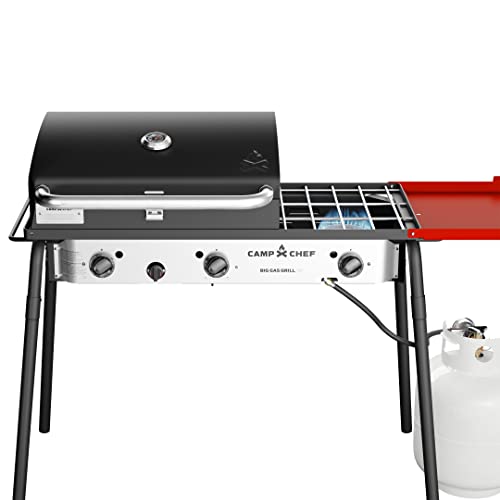
Top Picks for Portable Grilling on the Go


Preparing the grill for transport
To ensure the safe transportation of your grill, it is important to follow these steps:
- Cool down the grill completely: Before you start handling the grill, make sure it has cooled down completely. This will prevent any risk of burns or accidents during the transportation process.
- Remove hot coals or ash: Carefully empty out any remaining hot coals or ash from the grill. Allow the coals to cool down completely before disposing of them properly. You can also use a small brush or shovel to remove the ash from the bottom of the grill.
- Clean the cooking grates: Take off the cooking grates from the grill and clean them thoroughly. Use a grill brush to remove any food residue or grease that may have accumulated. You can also use warm soapy water to clean the grates if they are particularly dirty.
By ensuring the grill is cooled down, removing any hot coals or ash, and cleaning the cooking grates, you can safely transport your grill without any unnecessary risks or damages.

Disassembling the grill
To disassemble the grill into smaller, more manageable parts, start by removing any detachable components. Begin with the lid; lift it straight up to detach it from the grill body. Set the lid aside in a safe place. Next, remove the grates by lifting them from the grill and carefully placing them aside as well.
Once the lid and grates are removed, locate the propane tank and disconnect it from the grill. Depending on your grill model, you may need to unscrew a knob or release a latch to detach the propane tank. Make sure to close the gas valve on the tank before removing it for safety purposes.
After you’ve removed all the detachable parts, it’s important to securely pack them separately. This will prevent any damage during storage or transportation. Use packaging materials such as bubble wrap or foam pads to protect the lid and grates. Place them in a sturdy box or container, ensuring they are snugly packed to prevent any movement. For the propane tank, it’s best to place it in a separate container to avoid any potential leaks or accidents.
By disassembling the grill into smaller parts and securely packing them separately, you’ll be able to handle and store each component more conveniently. This also reduces the risk of any damage occurring to the grill or its detachable parts during transportation or storage.


Protecting the grill
To protect your grill during transportation, wrap the main body in a protective cover or blanket. This will prevent any scratches or damage caused by bumps or friction. Use additional padding, such as bubble wrap or towels, to provide extra protection to the delicate parts of the grill. Wrap the padding securely around the components, ensuring they are well covered and cushioned. This will help to absorb any impact and prevent potential damage. Don’t forget to secure the cover or blanket tightly to keep everything in place during transit. By taking these simple steps, you can effectively safeguard your grill while transporting it.


Securing the grill
Place the grill in a sturdy and secure container:
To ensure the safety and protection of your grill during transportation, it is essential to place it in a sturdy and secure container. Consider using a travel bag or a durable box that is specifically designed for grills. Make sure the container is of appropriate size so that the grill fits snugly without any room for movement. This will prevent any unnecessary jostling or damage while you transport it.
Ensure a tight fit:
Once you have selected the container, ensure that the grill is tightly fit inside it. This can be done by adjusting the grill and any accompanying accessories to maximize space utilization and avoid any gaps. A snug fit will prevent the grill from shifting or moving around during transport, reducing the risk of any potential damage.
Additional security measures:
For added peace of mind, utilize straps or bungee cords to further secure the grill inside the container. These can be used to fasten the grill to the sides or corners of the container, creating an extra layer of protection against movement.
By following these simple steps, you can securely transport your grill and minimize the chances of any damage occurring during transportation.

Transportation considerations
- Ensure the grill is positioned upright: To prevent any fuel leaks during transportation, make sure that the grill is positioned in an upright position. This will help to keep the fuel from spilling out and causing any potential hazards.
- Avoid placing heavy items on top of the grill: It is important to avoid placing any heavy items on top of the grill as this can cause damage. Heavy items can not only dent or break the grill, but they can also make it unstable, putting it at risk of falling and causing accidents.
- Secure the grill in the trunk or use a cargo net: If you are traveling by car, it is recommended to secure the grill in the trunk. This will prevent it from moving around while the vehicle is in motion. Alternatively, you can use a cargo net to secure it to the backseat or any other stable location inside the car. This will ensure that the grill stays in place and doesn’t pose any danger to yourself or others on the road.


Unpacking and reassembling
Upon arrival, begin by carefully unpacking the grill, ensuring you have enough space to work. Examine the packaging for any signs of damage or excessive wear. Gently remove each component, including the main body, cooking grates, burner, and gas canister if applicable.
Next, refer to the manufacturer’s instructions to reassemble the grill correctly. Start by aligning the various parts and attaching them securely. Make sure all connections are tight, especially with gas grills to prevent any leaks. Double-check each step to ensure the proper assembly of the grill. Take your time and be meticulous to avoid any mistakes that could compromise its functionality or safety.
After the grill has been reassembled, thoroughly inspect it for any damage that may have occurred during transit. Pay particular attention to critical areas such as gas connections, burners, and cooking surfaces. If any signs of damage are detected, contact the manufacturer for further guidance before using the grill.
By following these steps and taking the necessary precautions, you can ensure a safe and effective grill assembly process. Enjoy your grilling experience to the fullest while having the peace of mind that comes with a properly assembled and inspected grill.

Key Takeaways
In conclusion, when it comes to safely transporting a hot travel grill, preparation, protection, and securing play crucial roles. By carefully cleaning and cooling the grill, wrapping it in insulation material, and securely fastening it in your vehicle, you can ensure a smooth and safe journey. Remember, taking these necessary steps will not only protect your grill from damage but also prevent accidents on the road. So, the next time you embark on a grilling adventure, make sure to follow these tips to safely transport your hot travel grill. Happy grilling!
Essential Equipment

Essential Safety Measures
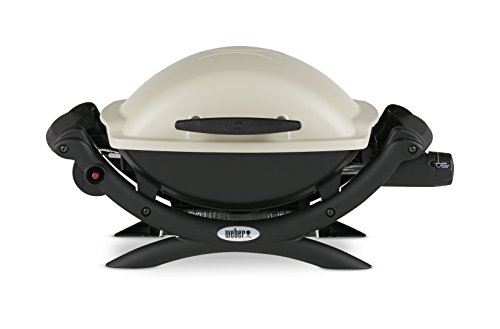
Setting Up the Weber Q1200 Portable Propane Grill
Using the Travel Grill
- Set up the travel grill in a safe and stable location outdoors, away from any flammable materials
- Make sure the grill is clean and free of any debris from previous use
- If your travel grill requires an external fuel source, such as charcoal or propane, ensure you have enough fuel and the necessary tools to ignite it
- Light the fuel source following the manufacturer’s instructions, making sure to use long-handled safety matches or a barbecue lighter
- Allow the grill to preheat for a few minutes until it reaches the desired cooking temperature
- Place the food you want to grill on the cooking surface, making sure to leave some space between each item to allow for even cooking
- Keep a close eye on the food while it grills, adjusting the heat as needed to prevent burning or undercooking
- Use grilling tools, such as tongs or spatulas, to turn the food and move it around for even cooking
- Always use oven mitts or heat-resistant gloves when handling the grill or removing hot food from the cooking surface
- Once your food is cooked to your desired level of doneness, carefully remove it from the grill and place it on a clean plate or tray
- Allow the grill to cool down completely before attempting to clean or pack it away for storage
Frequently Asked Questions about Travel Grills
Can you use a travel grill for both cooking and grilling?
Yes, you can use a travel grill for both cooking and grilling. Travel grills are designed to be versatile and portable, allowing you to prepare various types of food. They typically come with a grilling surface that is perfect for grilling burgers, steaks, and vegetables. Additionally, travel grills often feature a lid that allows you to cook other dishes like stews, soups, or even bake small items. Some travel grills also come with additional accessories like griddle plates or rotisserie attachments, allowing you to expand your cooking options. However, it’s always a good idea to consult the user manual or manufacturer’s guidelines to understand the specific capabilities and limitations of your travel grill.