How to cook on a collapsible grill?
In this step-by-step guide, we will show you how to cook on a collapsible grill. Whether you’re camping, tailgating, or simply enjoying a backyard barbecue, a collapsible grill is a convenient and portable option. We will provide you with easy-to-follow instructions to help you make the most of your collapsible grill cooking experience.
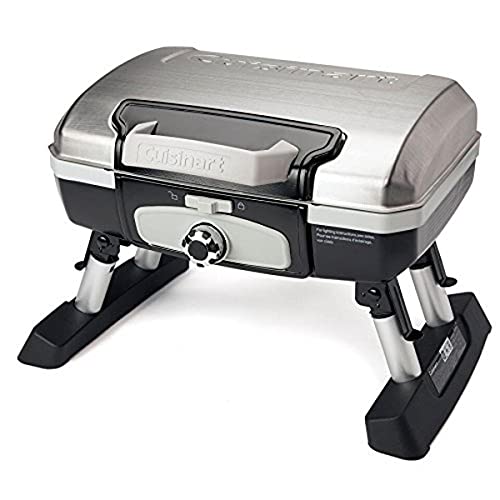
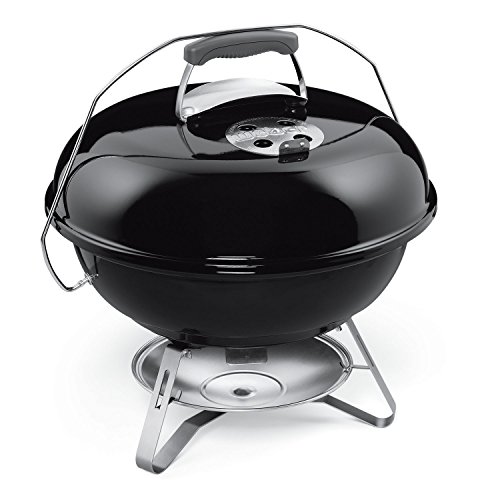
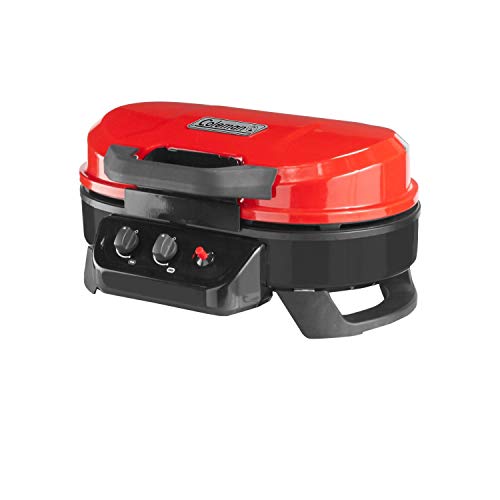
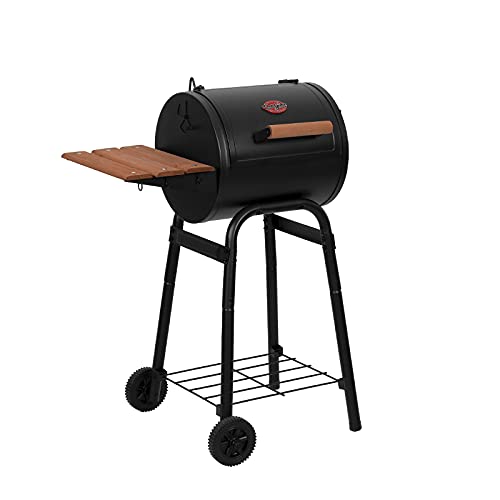
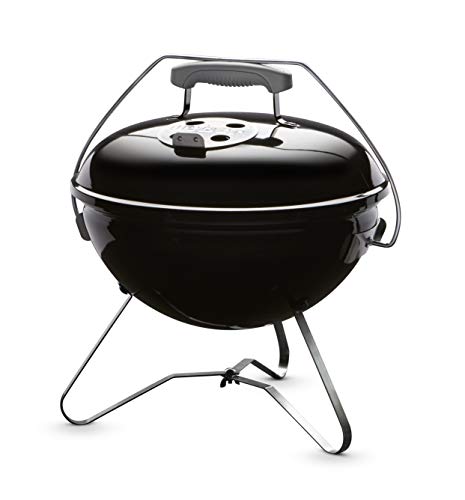
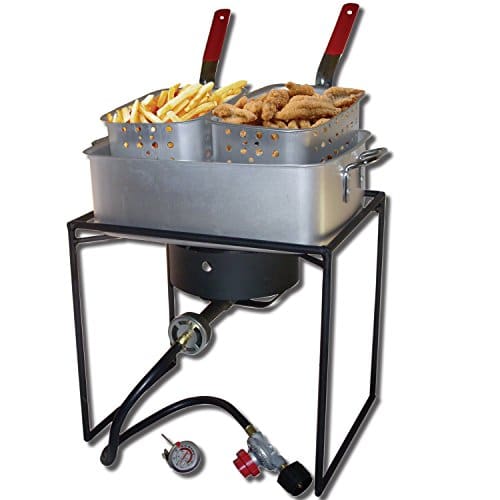
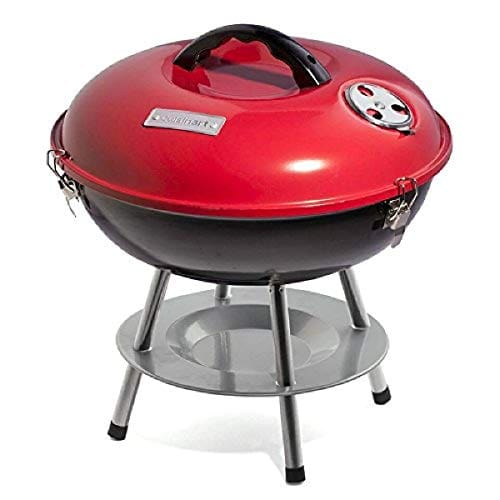
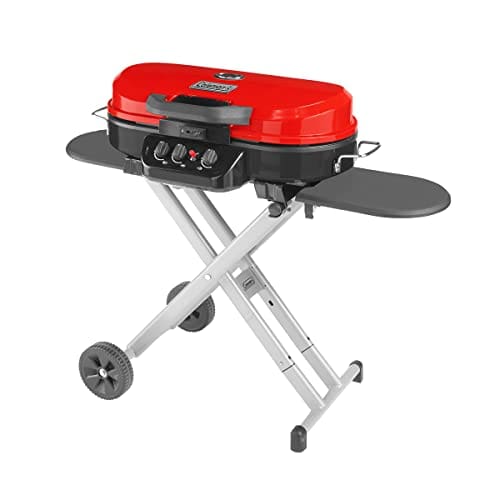
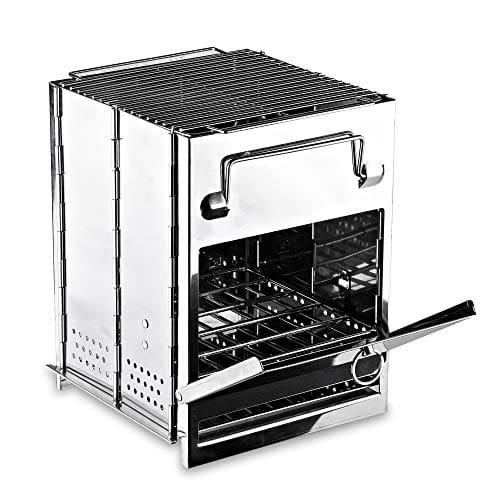
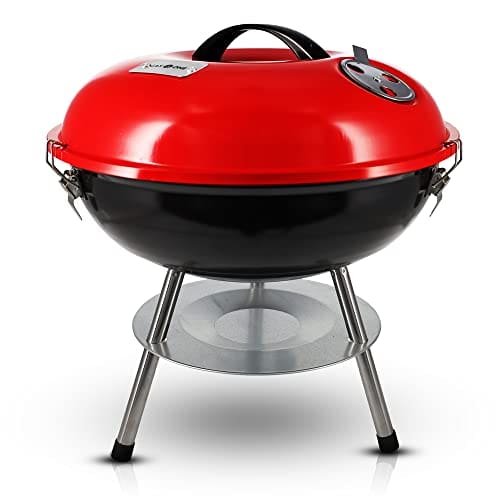
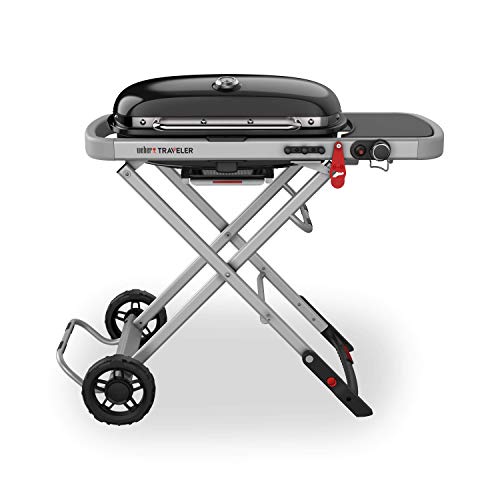
Popular collapsible grills for outdoor cooking
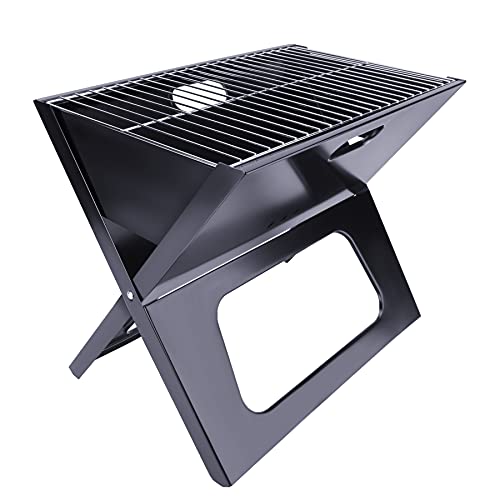

Choosing a collapsible grill
When it comes to choosing a collapsible grill, it’s important to research and select one that suits your needs and preferences. To begin, consider the size of the grill. Determine whether you’ll be using it for small gatherings or larger groups, and choose a size accordingly. Next, pay attention to the weight of the grill. If you plan on taking it on camping trips or picnics, a lightweight option would be more convenient.
Additionally, consider the material of the grill. Stainless steel is a popular choice due to its durability and rust resistance. However, if you prioritize portability, you may opt for a grill made of lighter materials such as aluminum or cast iron. Lastly, think about the features that are important to you. This could include adjustable heat settings, removable grill grates for easy cleaning, or foldable legs for compact storage.
By evaluating these factors and considering your cooking requirements, you can select a collapsible grill that meets your needs and ensures a satisfying outdoor cooking experience. Happy grilling!

Setting up the collapsible grill
To set up the collapsible grill, follow these steps:
- Unfold the grill: Start by laying the grill out on a flat surface. Identify the hinges or clasps that hold the grill in its folded position. Release these hinges or clasps to unfold the grill, making sure to spread it out evenly.
- Assemble the grill according to the manufacturer’s instructions: Check the instruction manual that comes with the grill for specific assembly steps. Follow these instructions carefully to ensure proper assembly. This may involve attaching legs, handles, or other components to the main body of the grill.
- Securely connect all parts: As you assemble the grill, make sure that all parts are properly connected and fitted together. This includes tightening screws, latches, or any other fastening mechanisms. Ensure that everything is securely in place before moving on to the next step.
For example, if the grill requires attaching the legs, there might be screws that need to be tightened to secure them to the main body of the grill. Be sure to use the appropriate tool, such as a screwdriver or wrench, to tighten the screws securely.
Remember, each grill model may have slight variations in assembly steps, so always refer to the manufacturer’s instructions for specific guidance. Following these instructions will help you set up the collapsible grill correctly and ensure a safe grilling experience.


Preparing the grill for cooking
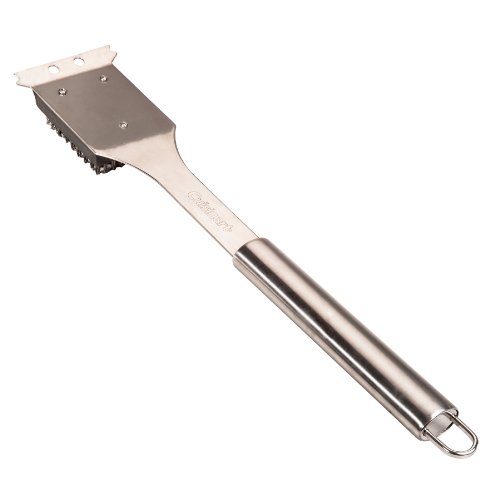
When preparing your grill for cooking, it’s important to start by cleaning the grill grates. Use a grill brush to remove any debris or residue that may have accumulated from previous cooking sessions. Scrub the grates thoroughly, making sure to reach all corners and crevices. This step is crucial to ensure that your food cooks evenly and without any unwanted flavors.
After cleaning the grill grates, it’s time to apply a thin layer of cooking oil. This will help prevent your food from sticking to the grates during the cooking process. Using a brush or a cloth, evenly coat the grates with cooking oil. Be sure to use a high heat oil that can withstand the temperatures of the grill.
By following these simple steps of cleaning the grill grates and applying a thin layer of cooking oil, you’re setting yourself up for a successful and enjoyable grilling experience. Your food will cook more evenly and won’t stick to the grates, resulting in delicious and perfectly cooked meals. So don’t forget to take these preparations before firing up your grill!
Lighting the grill
To properly light your grill, it is important to follow the specific instructions provided by the grill manufacturer. These instructions will vary depending on whether you are using charcoal or propane.
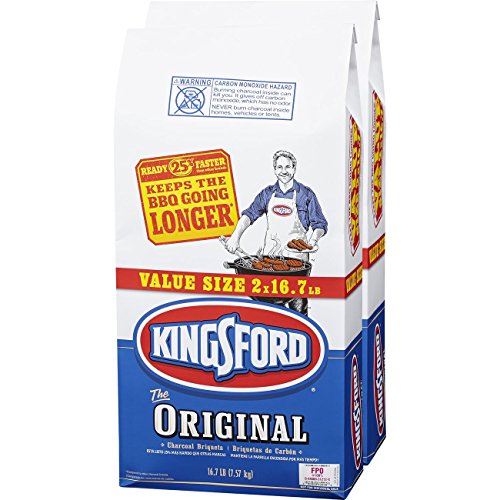
If you are using charcoal, begin by arranging the briquettes in a pile in the center of the grill. Using a lighter, carefully ignite the charcoal. Allow the flames to spread and the coals to become ashed over before you start cooking. Make sure to keep the lid open during this process and avoid using any lighter fluid or other flammable substances.
On the other hand, if you are using propane, start by checking the gas cylinder to ensure it is not empty or damaged. Open the gas valve on the cylinder slowly and turn the burner knobs to the “on” position. Then, press the igniter button or use a long match or lighter to ignite the gas. Once the flames are lit, close the lid and allow the grill to preheat for a few minutes before placing any food on the grates.
Regardless of the fuel source, always make sure to light your grill in a well-ventilated area. This will help prevent any build-up of gas or smoke, ensuring a safe and enjoyable grilling experience.


Preheating the grill
To preheat the grill, simply turn it on and allow it to warm up for a few minutes until it reaches the desired cooking temperature. This step is crucial to ensuring that your food cooks evenly and doesn’t stick to the grill grates.
By preheating the grill, you are allowing the heat to distribute evenly across the cooking surface, which helps to eliminate any cold spots and ensures that your food cooks evenly. This is especially important when grilling items like steak or chicken, where achieving the right level of doneness is key.
Preheating also helps to prevent food from sticking to the grill grates. When the grill is preheated, the heat causes the grates to expand slightly, creating a non-stick surface. This significantly reduces the chances of your food sticking and tearing apart when you try to flip or remove it from the grill.
Remember, preheating the grill only takes a few minutes, but it can make a big difference in the outcome of your grilled dishes. So, before you start grilling, make sure to give your grill enough time to heat up to the desired temperature for a successful and enjoyable grilling experience.

Cooking on the collapsible grill
To cook on the collapsible grill, start by preheating the grill grates. Make sure the grill is set up in a safe and stable location. Light the grill using the appropriate method specified in the grill instructions or use a lighter if applicable. Allow the grill to heat up for a few minutes until the grates are hot.
Once the grill grates are hot, place your food on the grill. Arrange the food in a single layer, ensuring that there is enough space between each piece for even cooking. If you’re cooking different types of food, such as vegetables and meat, place them in separate areas of the grates or use a grilling basket for the vegetables.
Cook the food on the grill according to your recipe or desired cooking time. Flip or rotate the food as needed to ensure even cooking. Use tongs or a spatula to gently turn over the food, being careful not to pierce or squeeze it too forcefully.
Keep a close eye on the food as it cooks to prevent burning or overcooking. Adjust the grill heat as necessary to maintain the desired cooking temperature.
Once the food is cooked to your liking, carefully remove it from the grill using heat-resistant gloves or mitts. Allow the food to cool for a few minutes before serving.
Remember to always follow appropriate safety precautions when using a collapsible grill, such as keeping it away from flammable materials and ensuring proper ventilation. Happy grilling!
Cleaning and storing the collapsible grill
- Allow the grill to cool down: After you finish cooking, it is important to let the grill cool down. Give it some time to reach a safe temperature before proceeding with the cleaning process.
- Clean the grill grates and removable parts: Start by removing the grill grates and any other removable parts, such as trays or grease cups. Fill a basin with warm soapy water and use a brush to scrub away any residue or food particles. Pay special attention to the grill grates, giving them a thorough cleaning to ensure they are ready for your next use.
- Dry the grill: After cleaning all the parts, make sure to dry them thoroughly. This will help prevent the accumulation of moisture and potential rusting. Use a clean cloth or paper towel to wipe down all the surfaces, ensuring they are completely dry before moving on to the next step.
- Collapse and store the grill: Once the grill and its components are dry, it’s time to collapse and store it. Follow the manufacturer’s instructions to collapse the grill properly. Find a safe and dry place to store it, where it won’t be exposed to the elements or any potential damage. This will help extend the life of your grill and keep it in great condition for future use.
Remember: Regular cleaning and proper storage are essential for maintaining the performance and longevity of your collapsible grill. By following these simple steps, you can ensure that your grill is always ready for your next outdoor cooking adventure.
Wrapping it all up
Conclusion:
In conclusion, by learning how to cook on a collapsible grill, you will have the freedom to enjoy delicious grilled food wherever you go. This portable and convenient option allows you to easily set up your grill and cook your favorite dishes outdoors. By following the steps outlined in this blog post, you can master the art of cooking on a collapsible grill and impress your friends and family with your outdoor culinary skills. So, go ahead and start grilling, and experience the joy of cooking delicious meals in the great outdoors. Happy grilling!